One of my favorite sayings of all time is “Smooth seas never made for skilled sailors.” And with our garden, I’m really starting to build up my experiences (read: failures) to become a “skilled sailor” aka gardener.
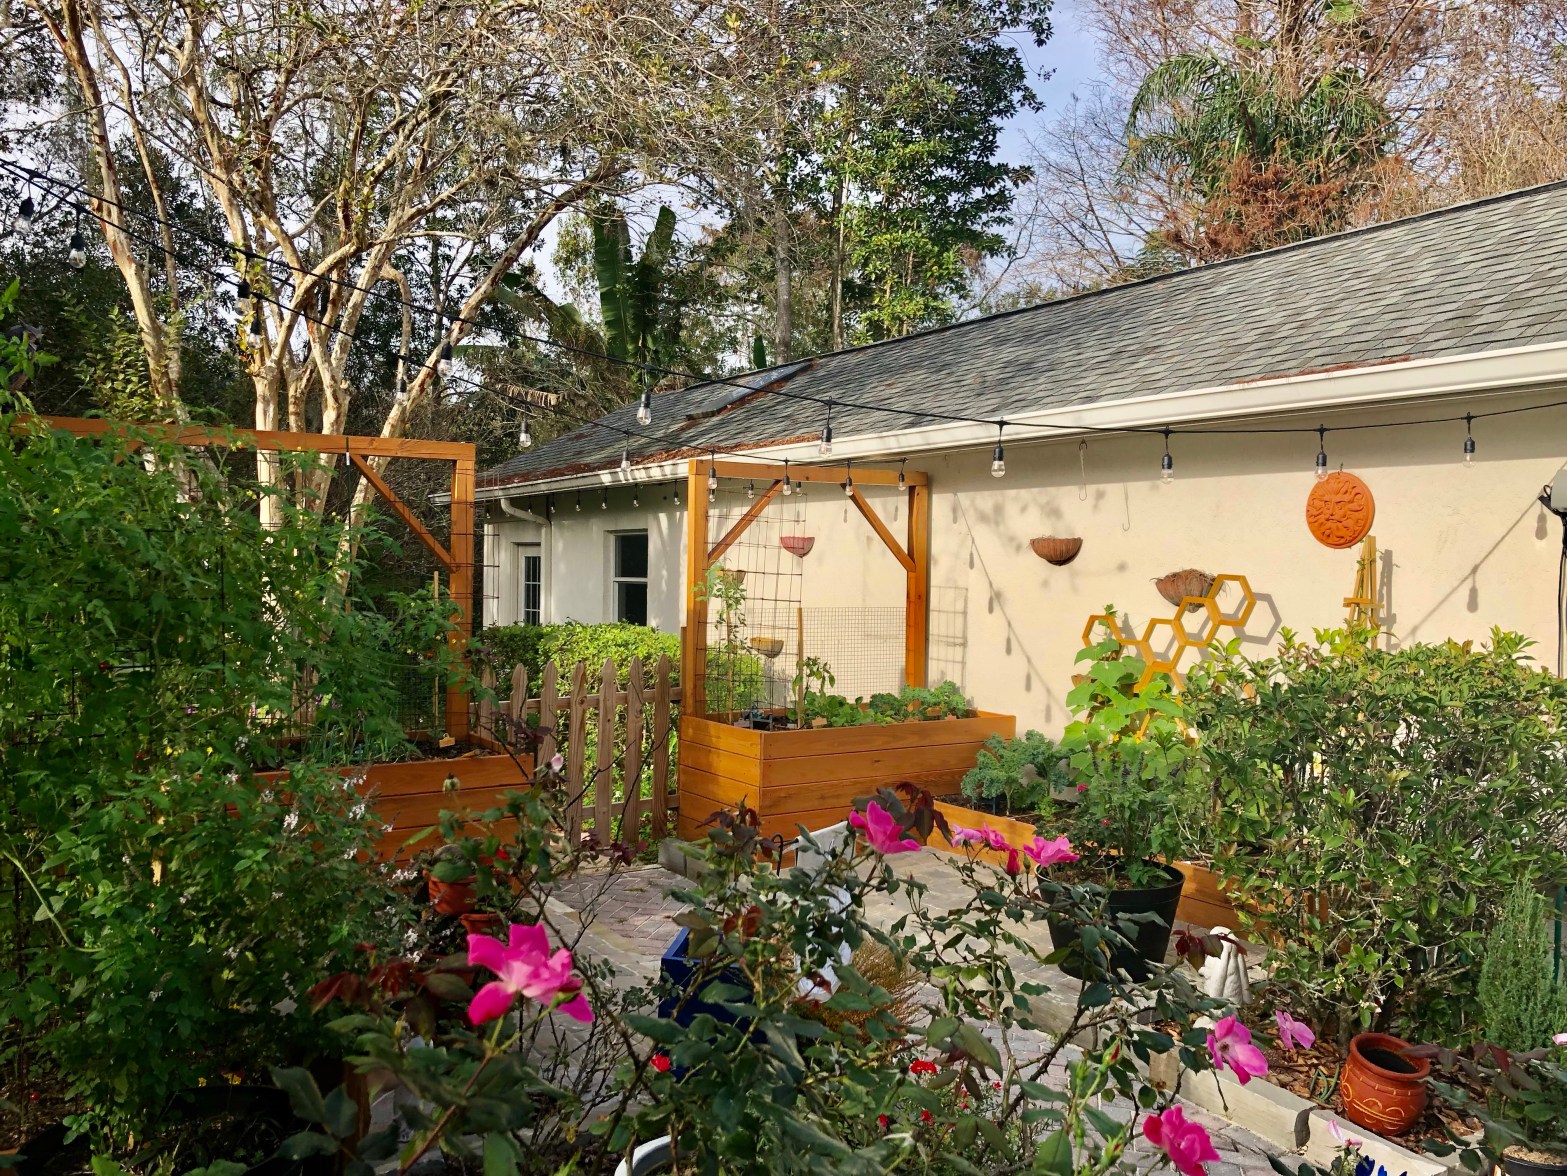
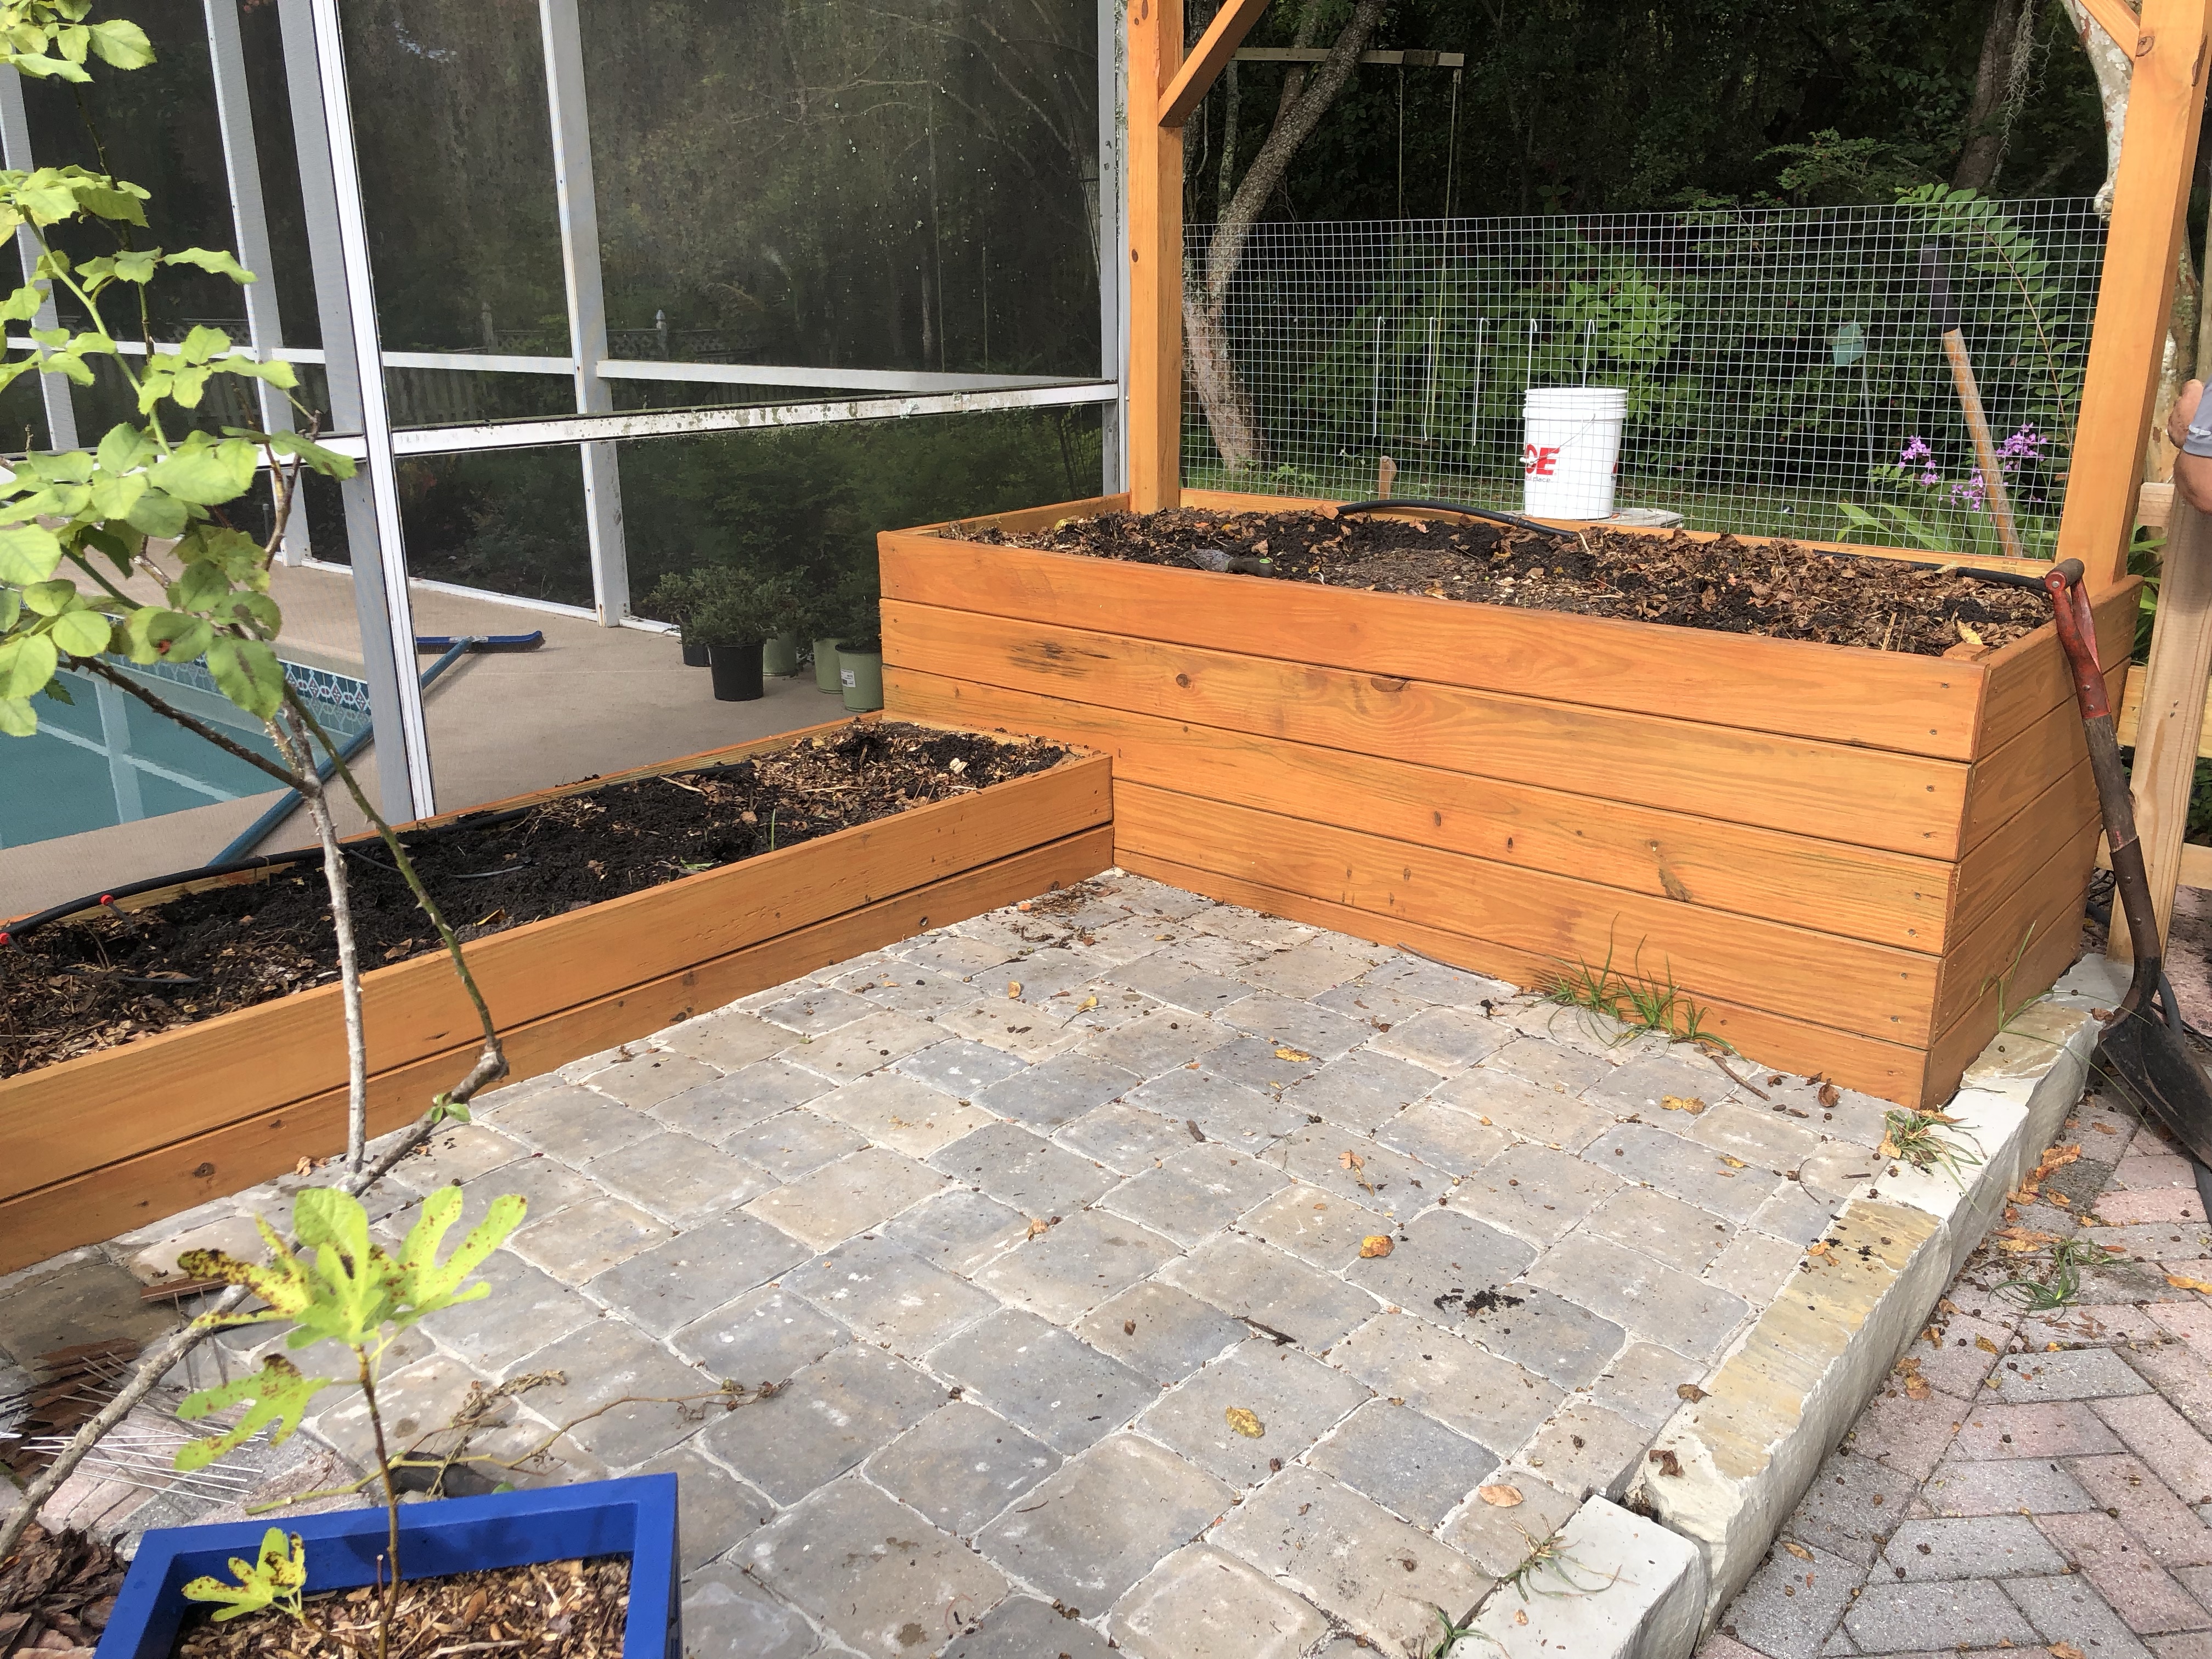
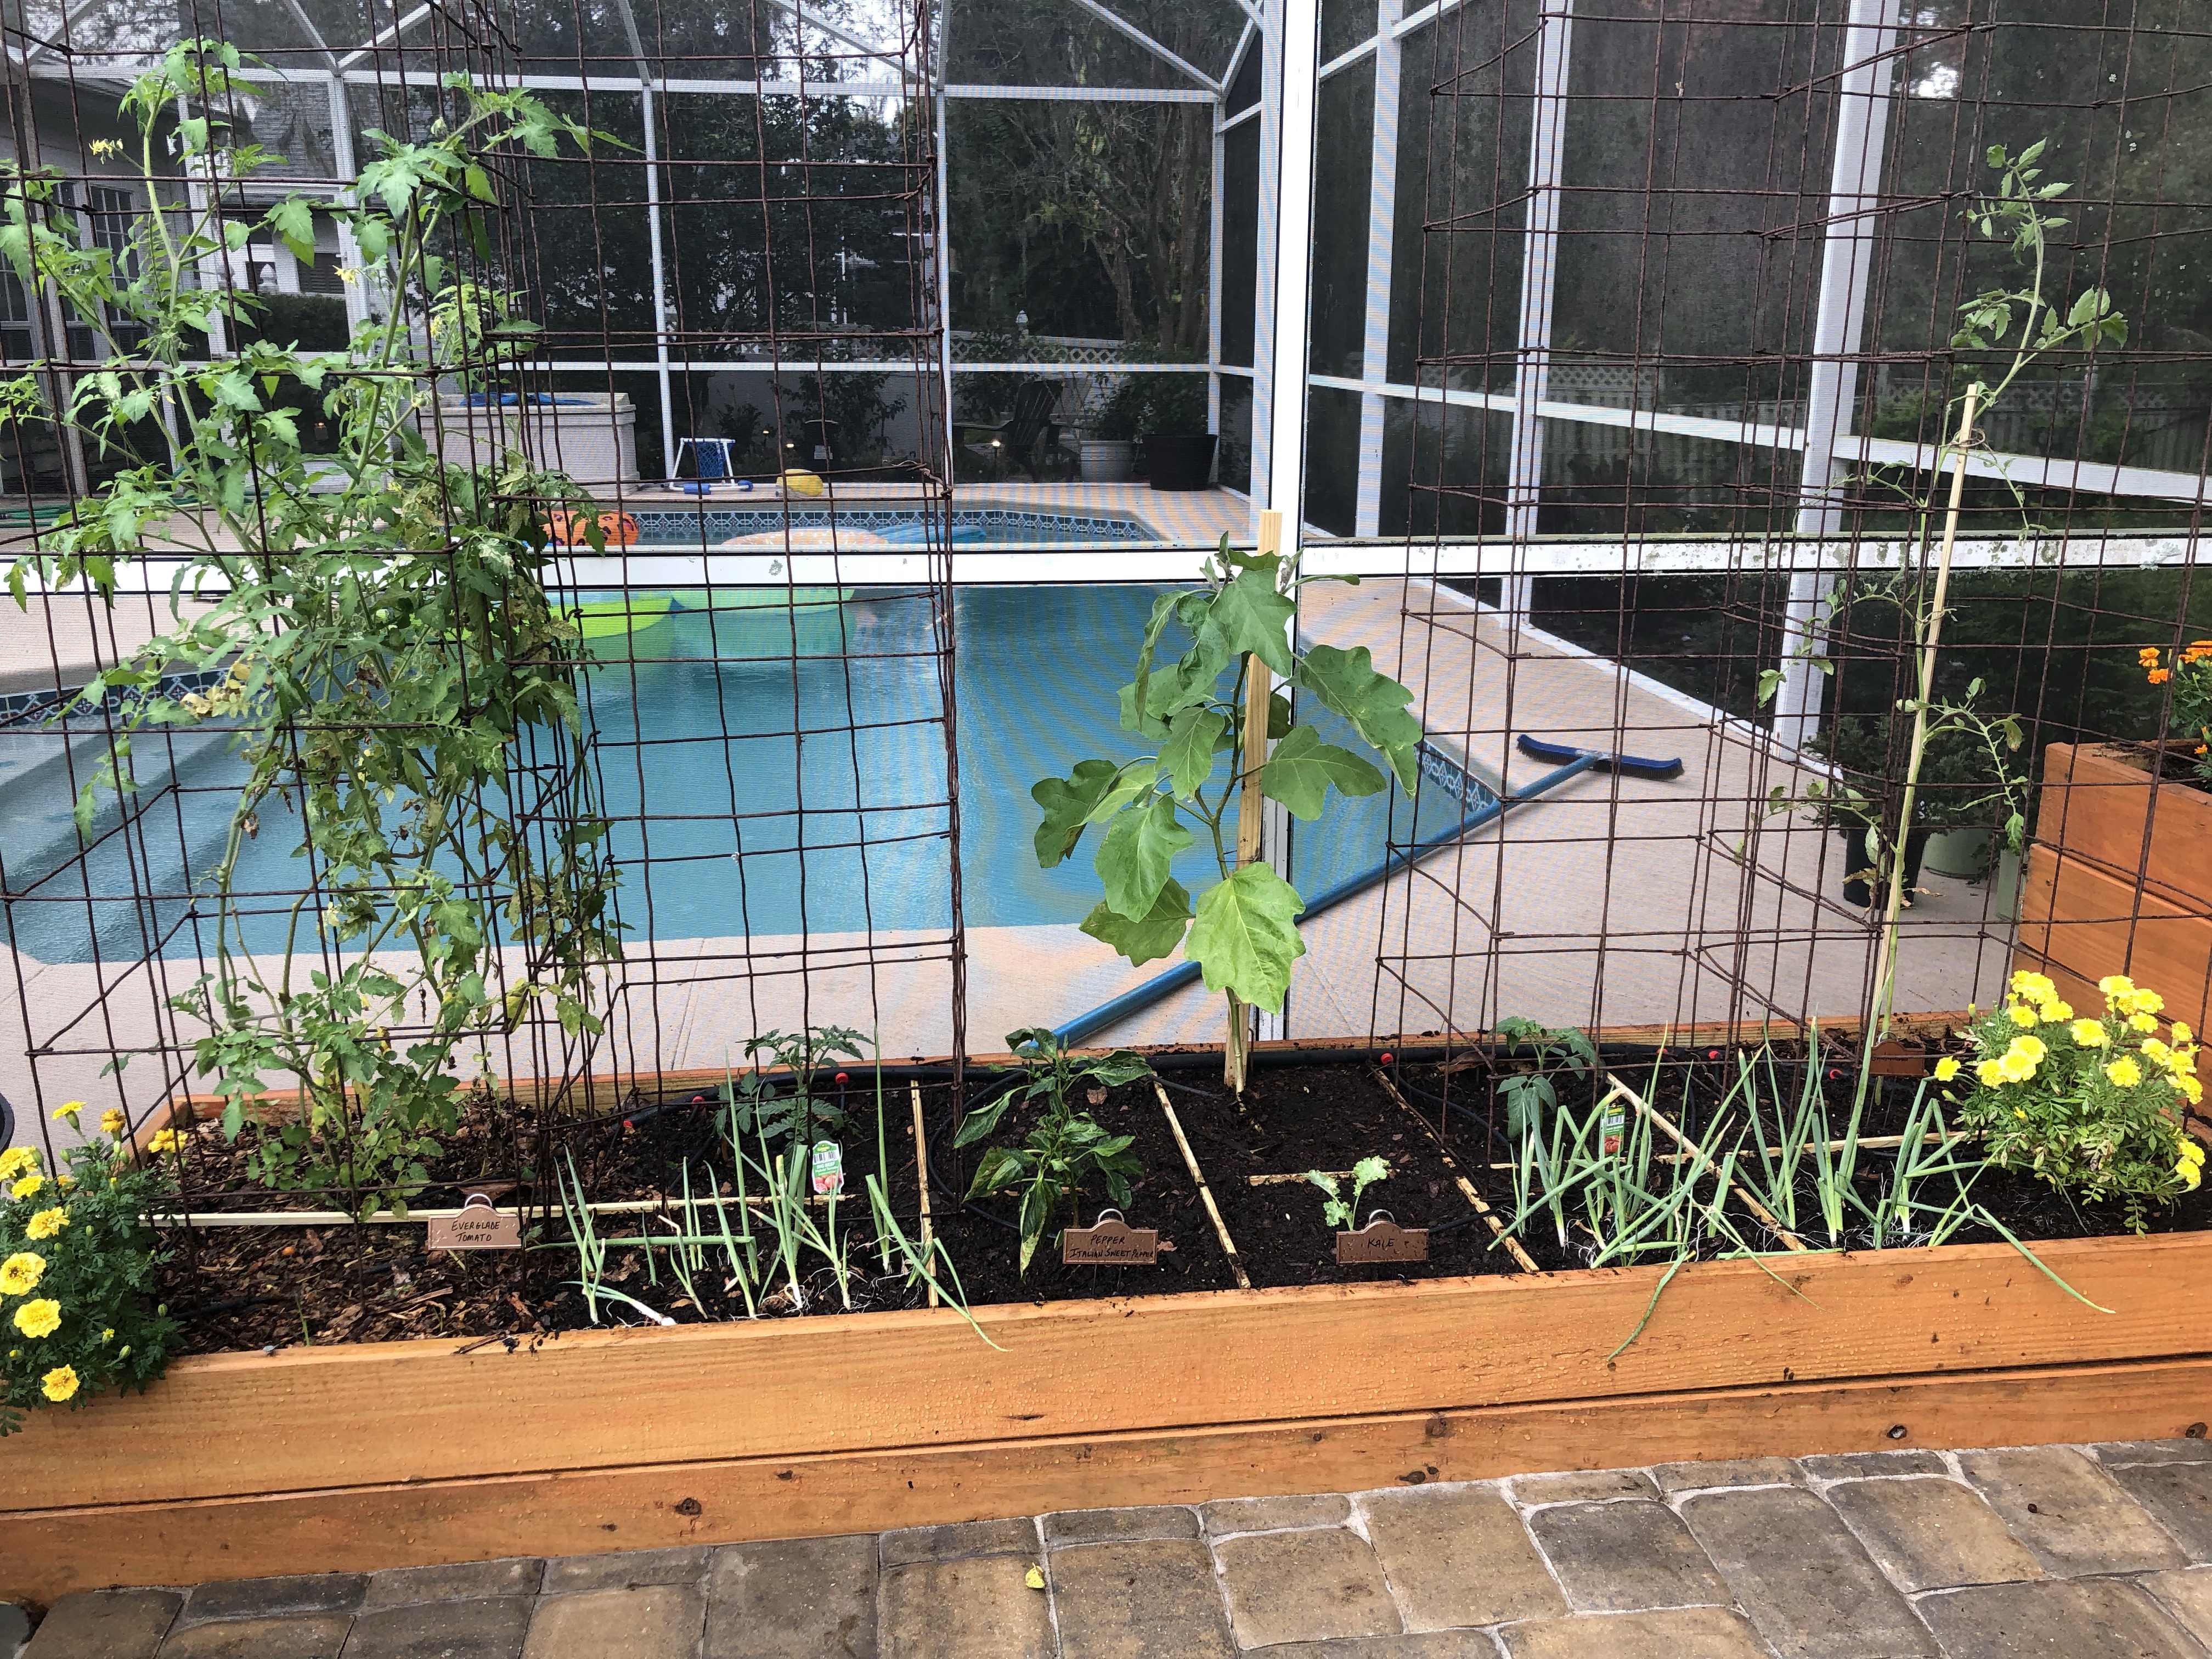
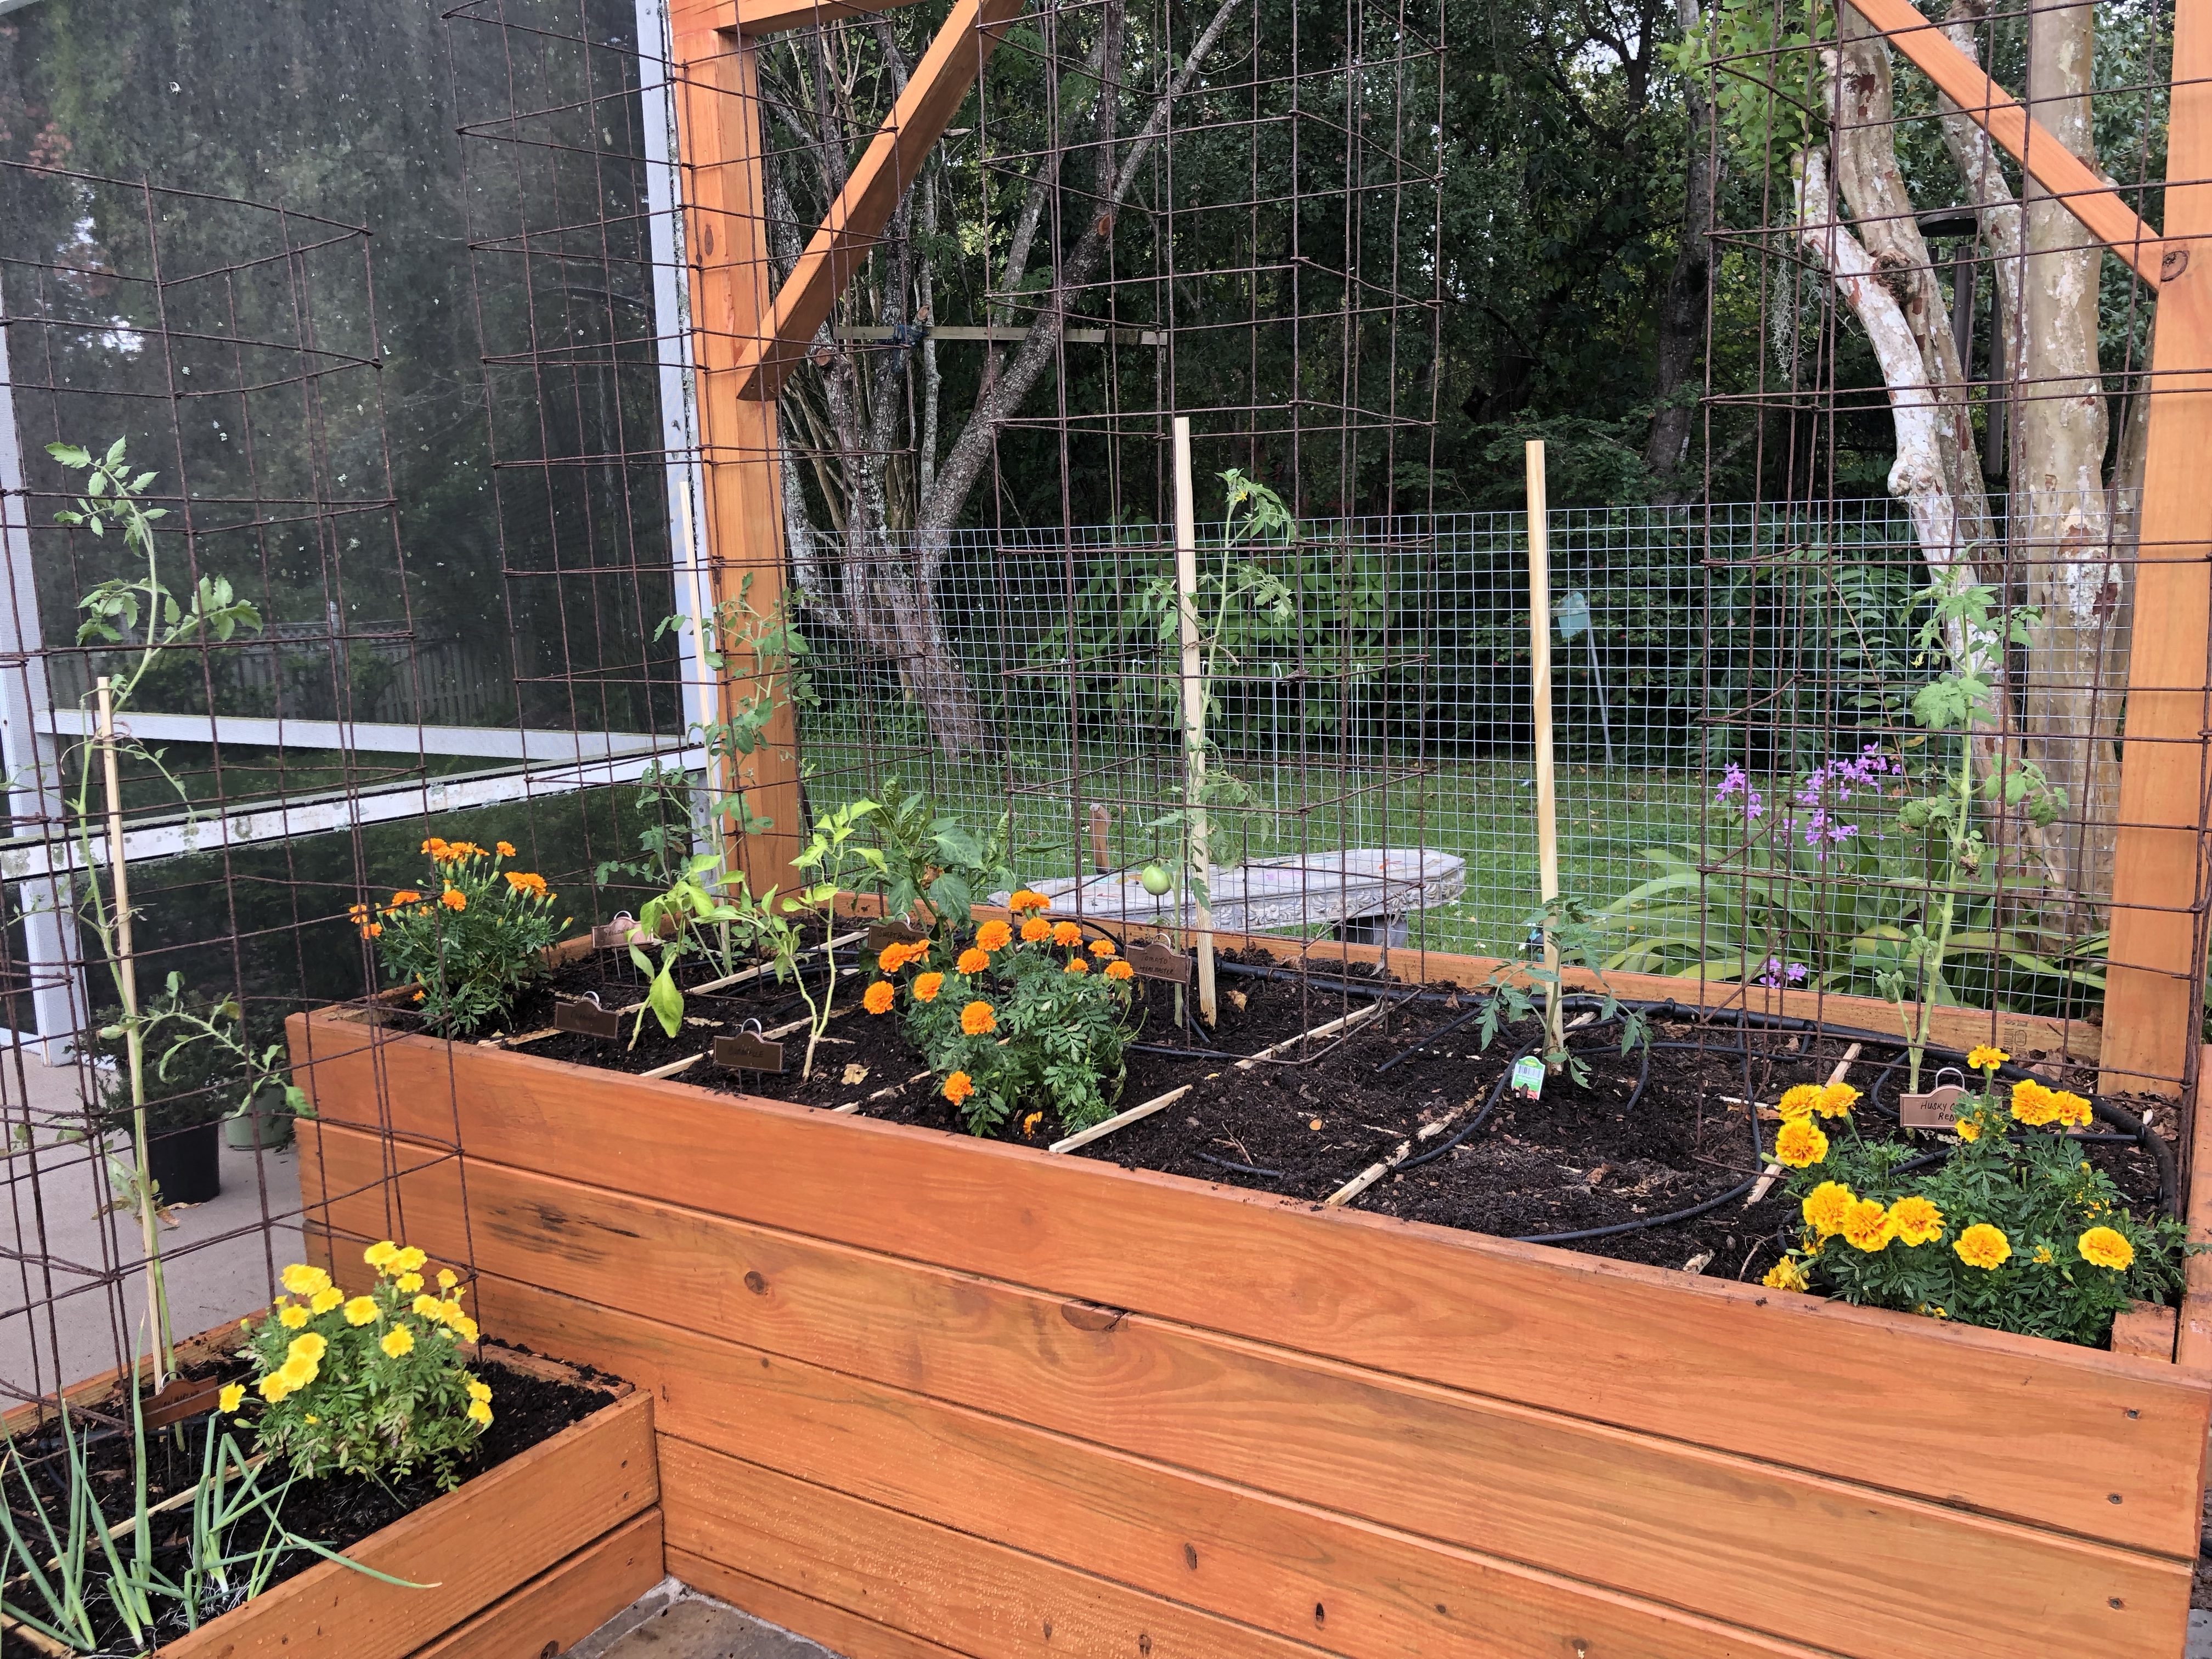
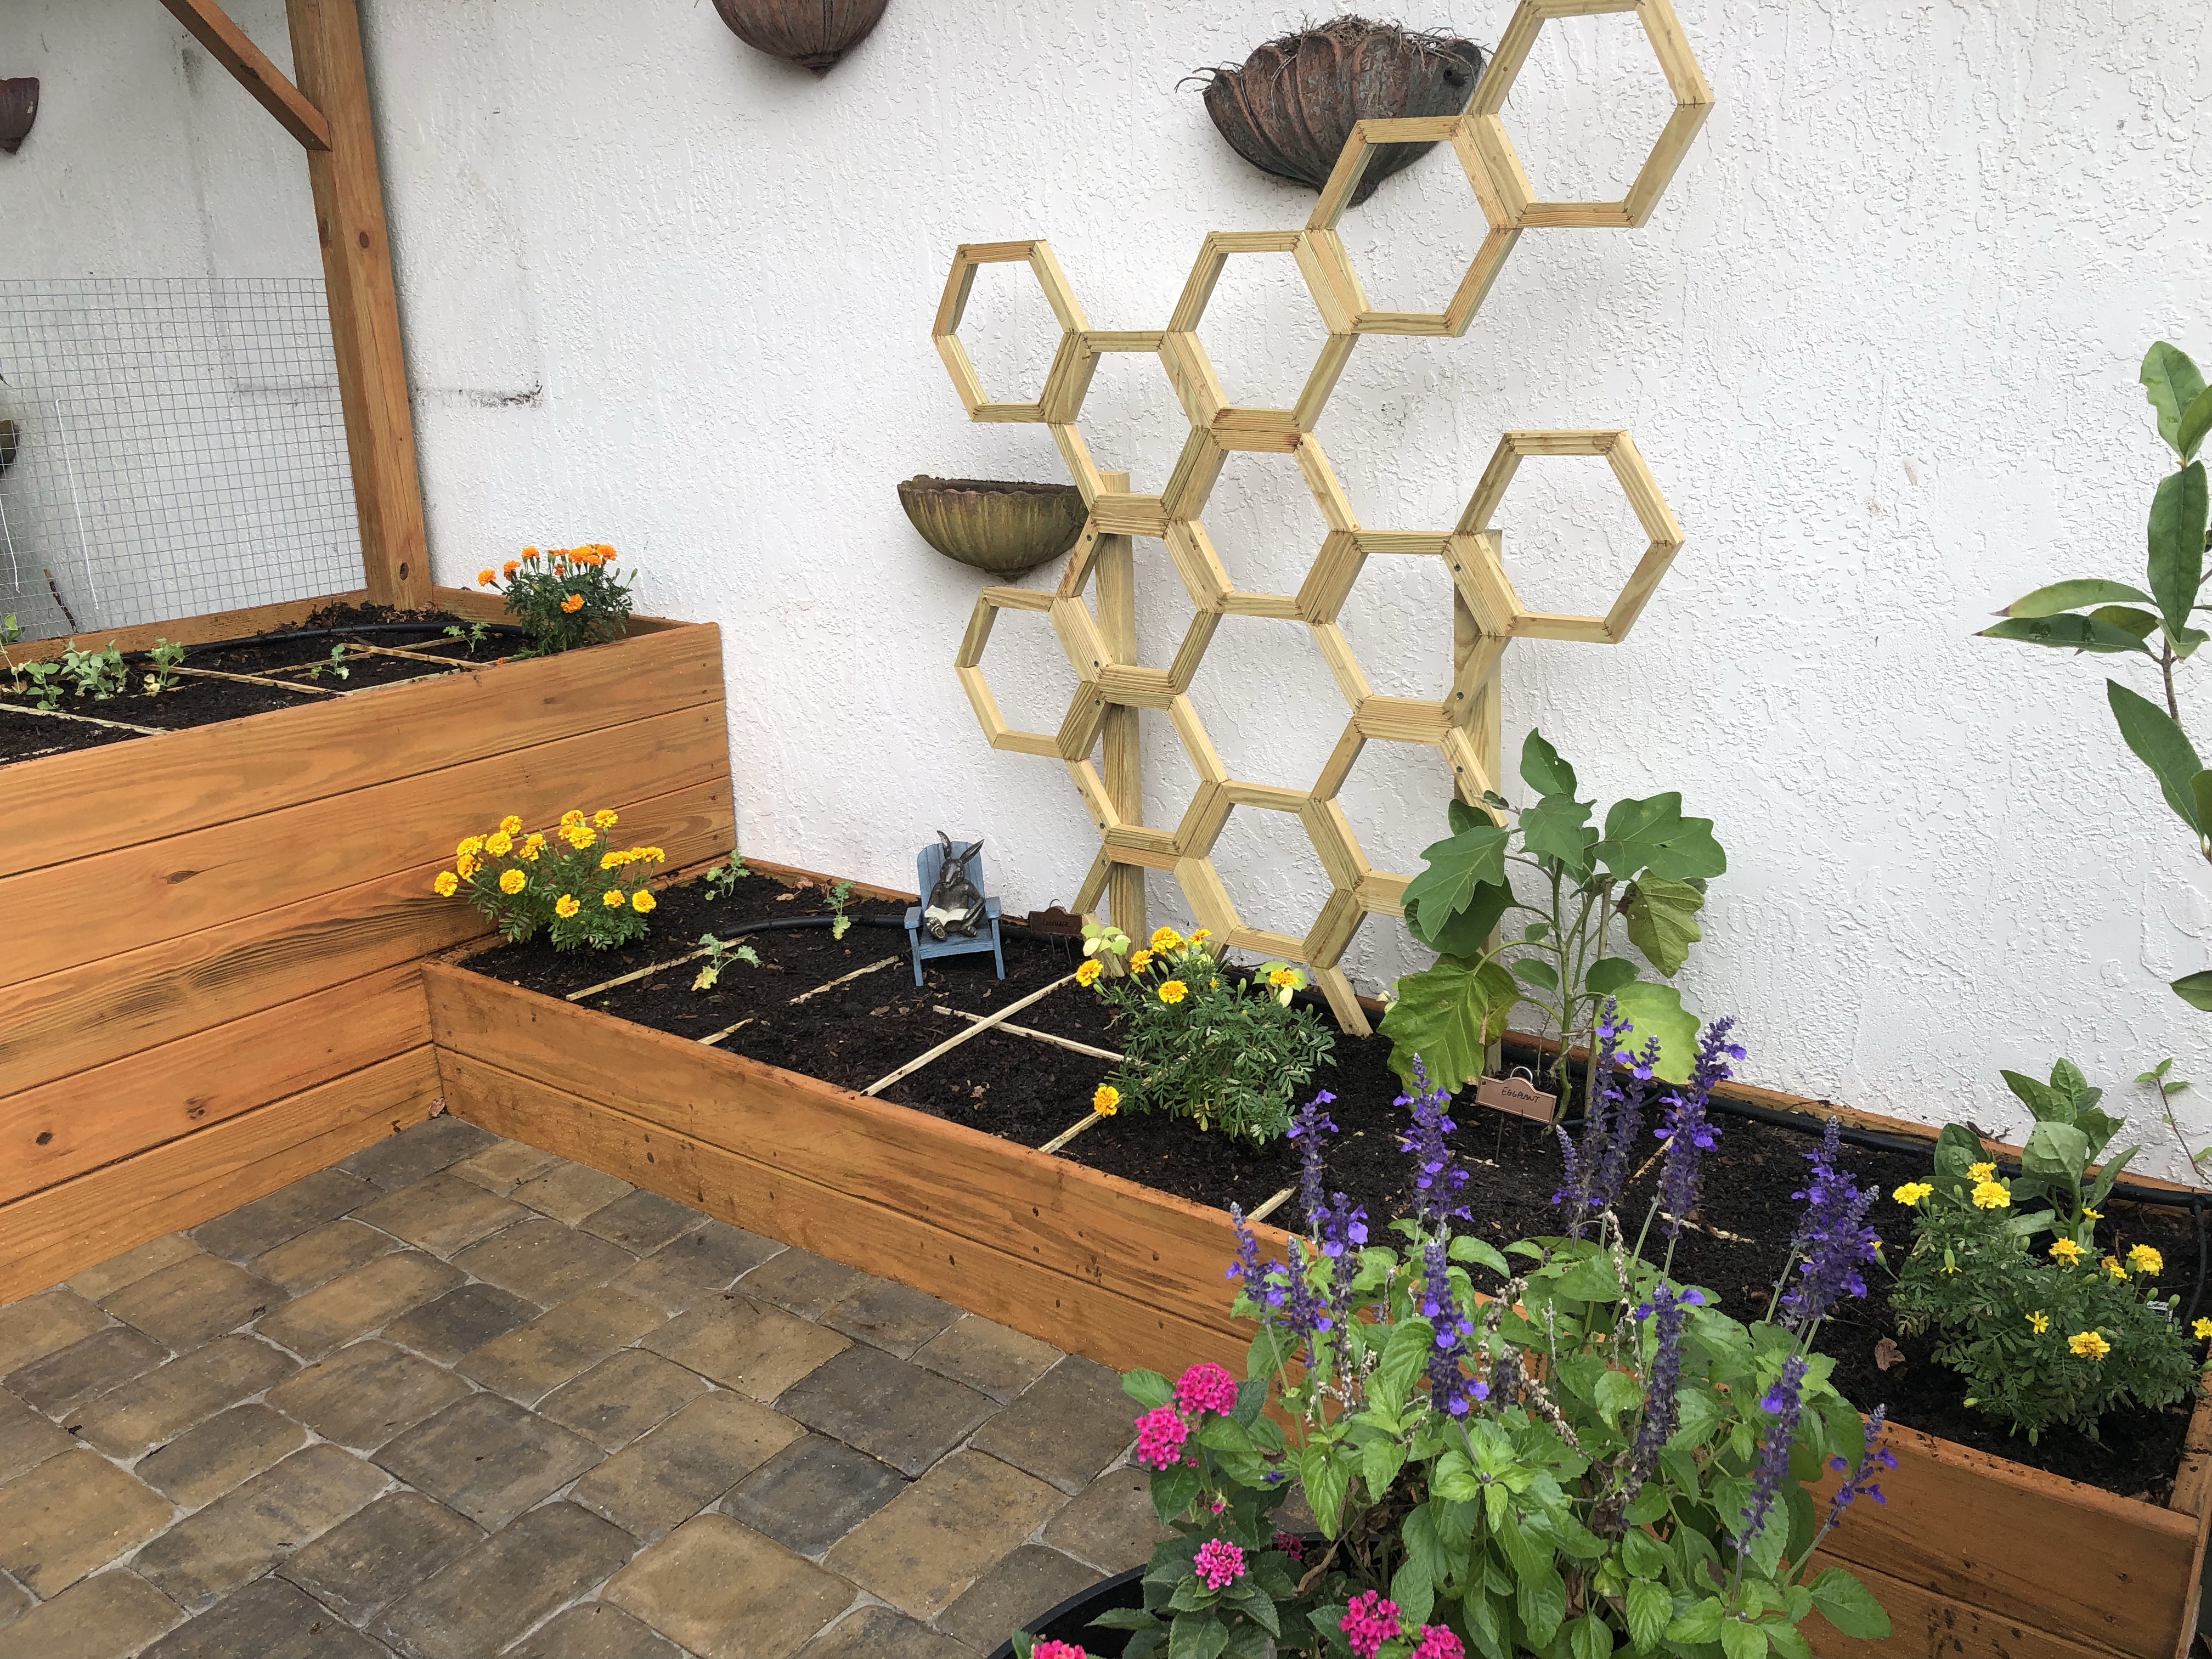
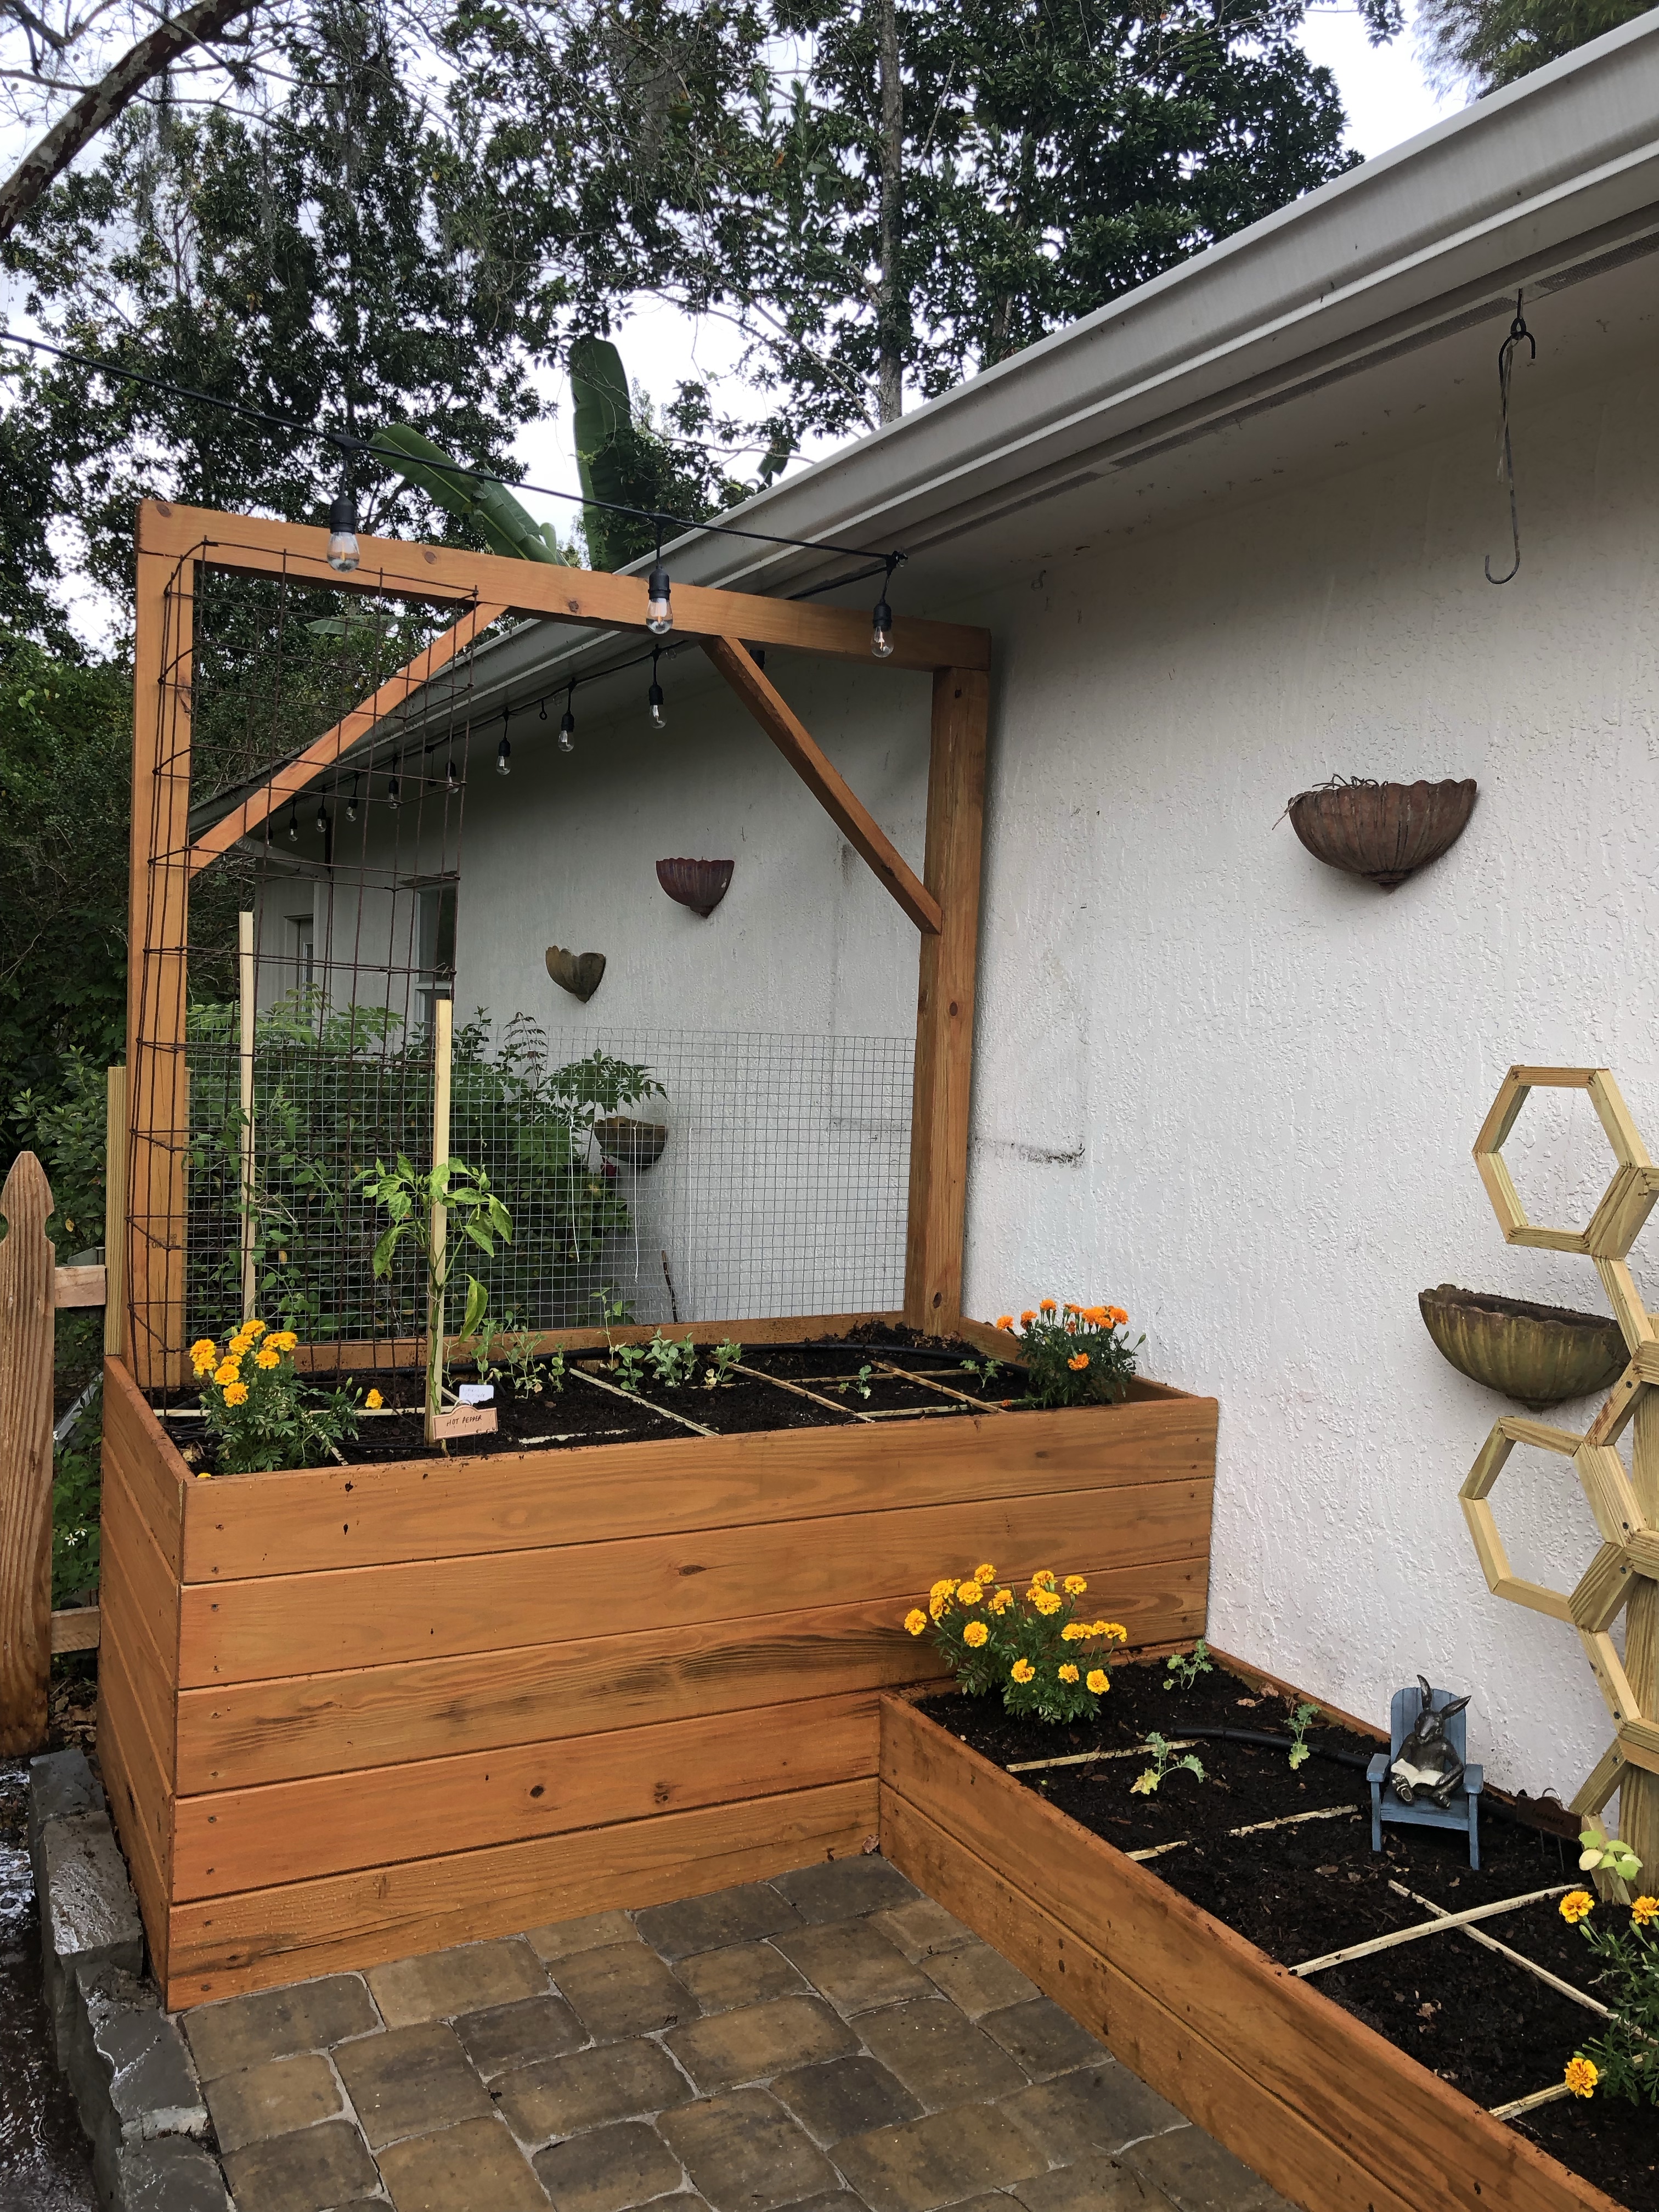
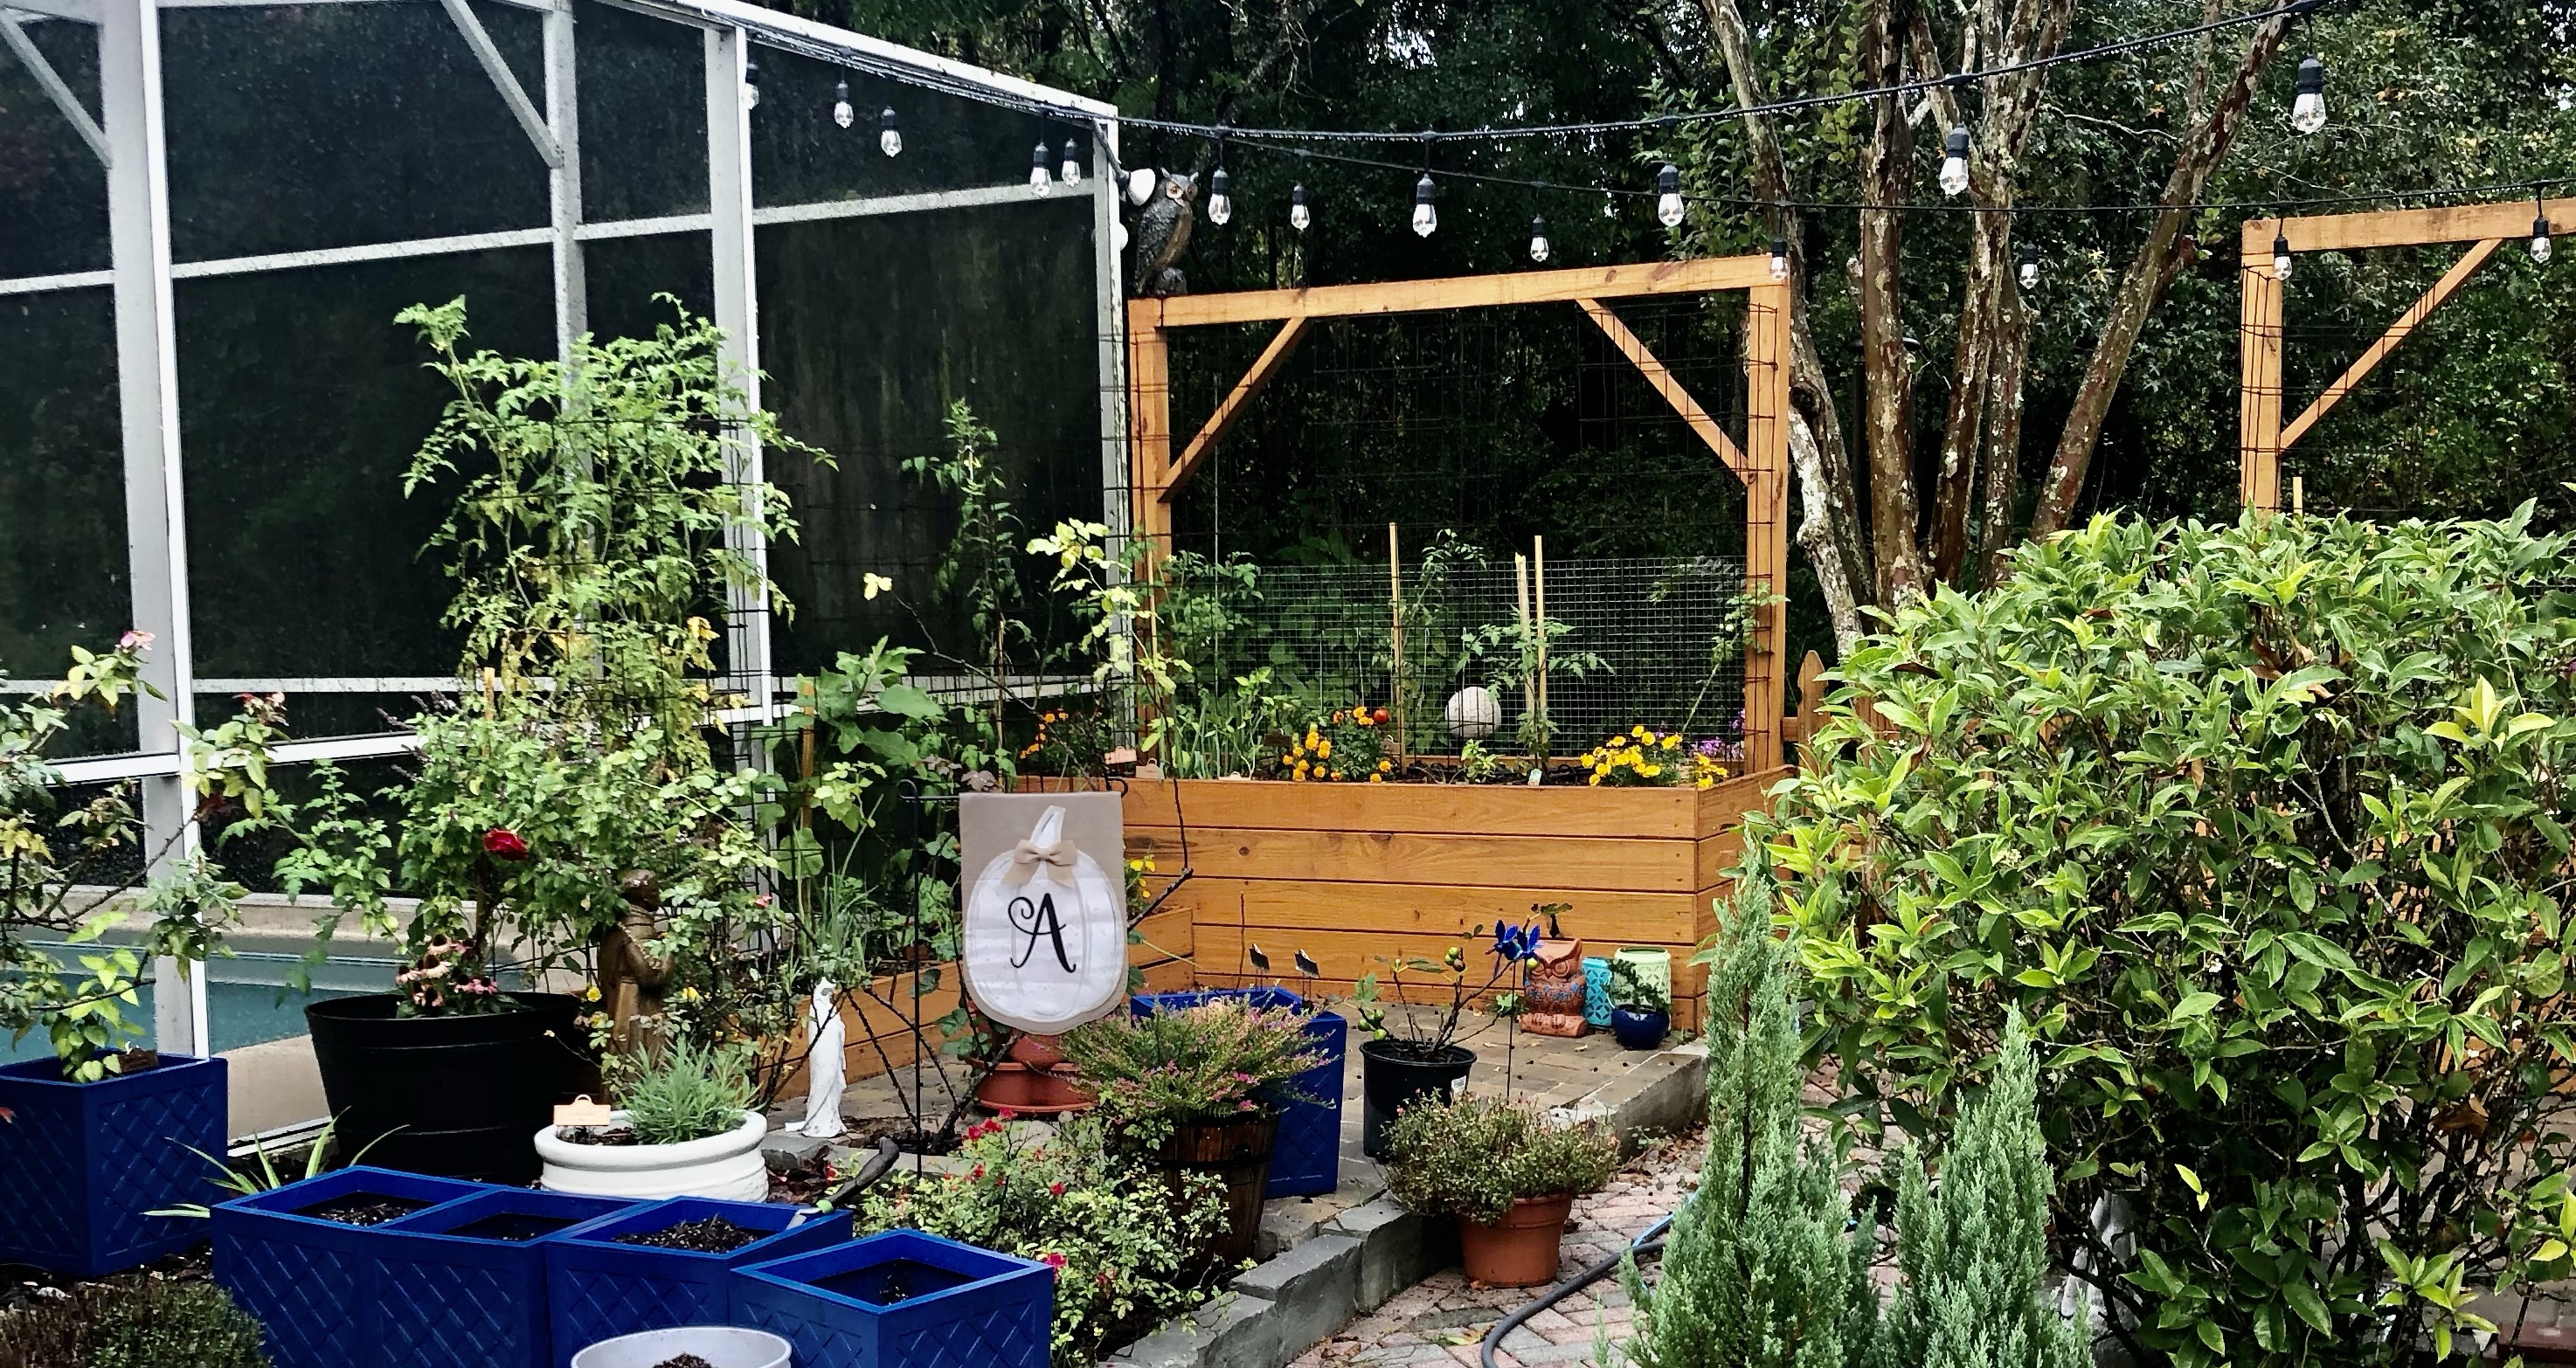
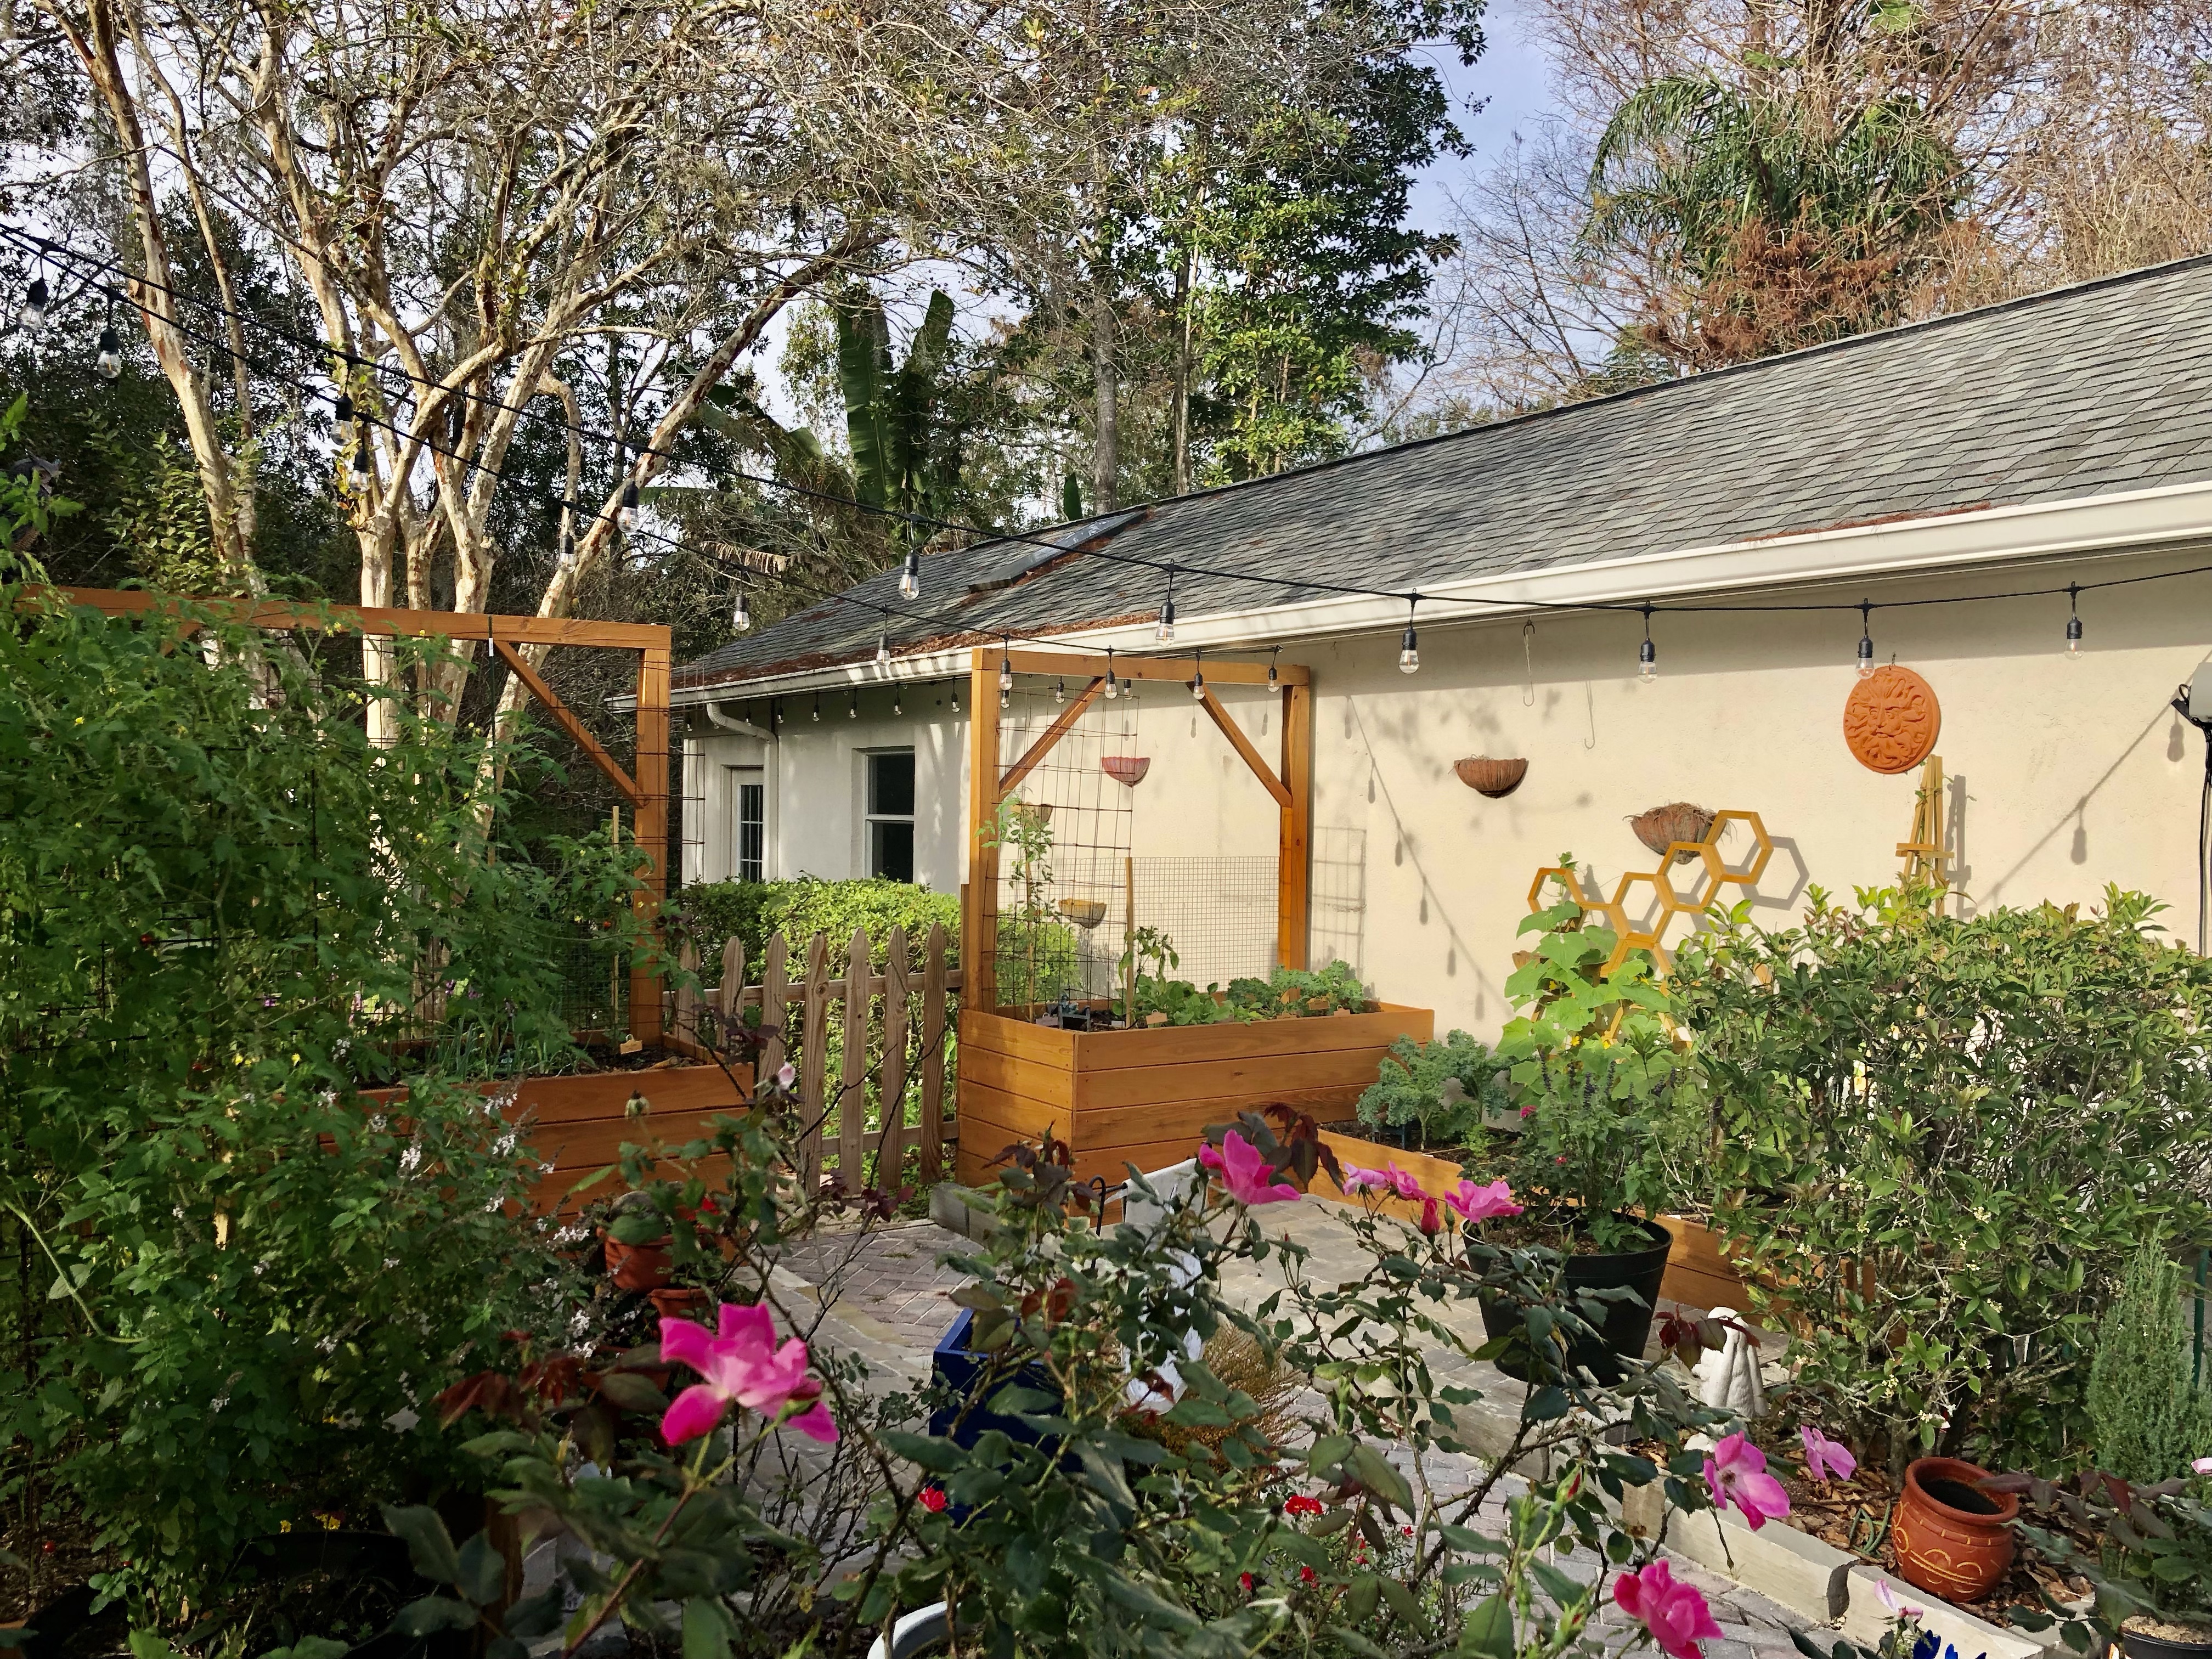
When we started our FL garden in September (74 sq ft), we knew that the first element we needed for a successful garden was soil. What we didn’t know at the time is how critical soil actually is to thriving plants. We purchased ‘organic planting soil’ and after a month of very minimal growth, decided to have our soil tested. Turns out, the ‘organic planting soil’ really turned out to be a pile of dirt that didn’t have many nutrients…which explained why we weren’t seeing much growth in the plants. The pictures below show the garden after two months of planting. (Lesson: I was so excited to plant the garden this year that we started on 1 September. Next year, I am not going to start until 1 October – it was still too hot/humid in September which contributed to the slow growth.)


I sat down with Rebecca at the Do It Yourself Lawn & Pest Control, and she provided a program to add those key nutrients back into the soil. BUT, here’s the catch: we had to take everything out of the garden, add the nutrients, and then replant. Surely, we were going to lose some plants, which was minimal risk compared to the larger risk if we didn’t act: we would lose out entirely on our first garden crop.
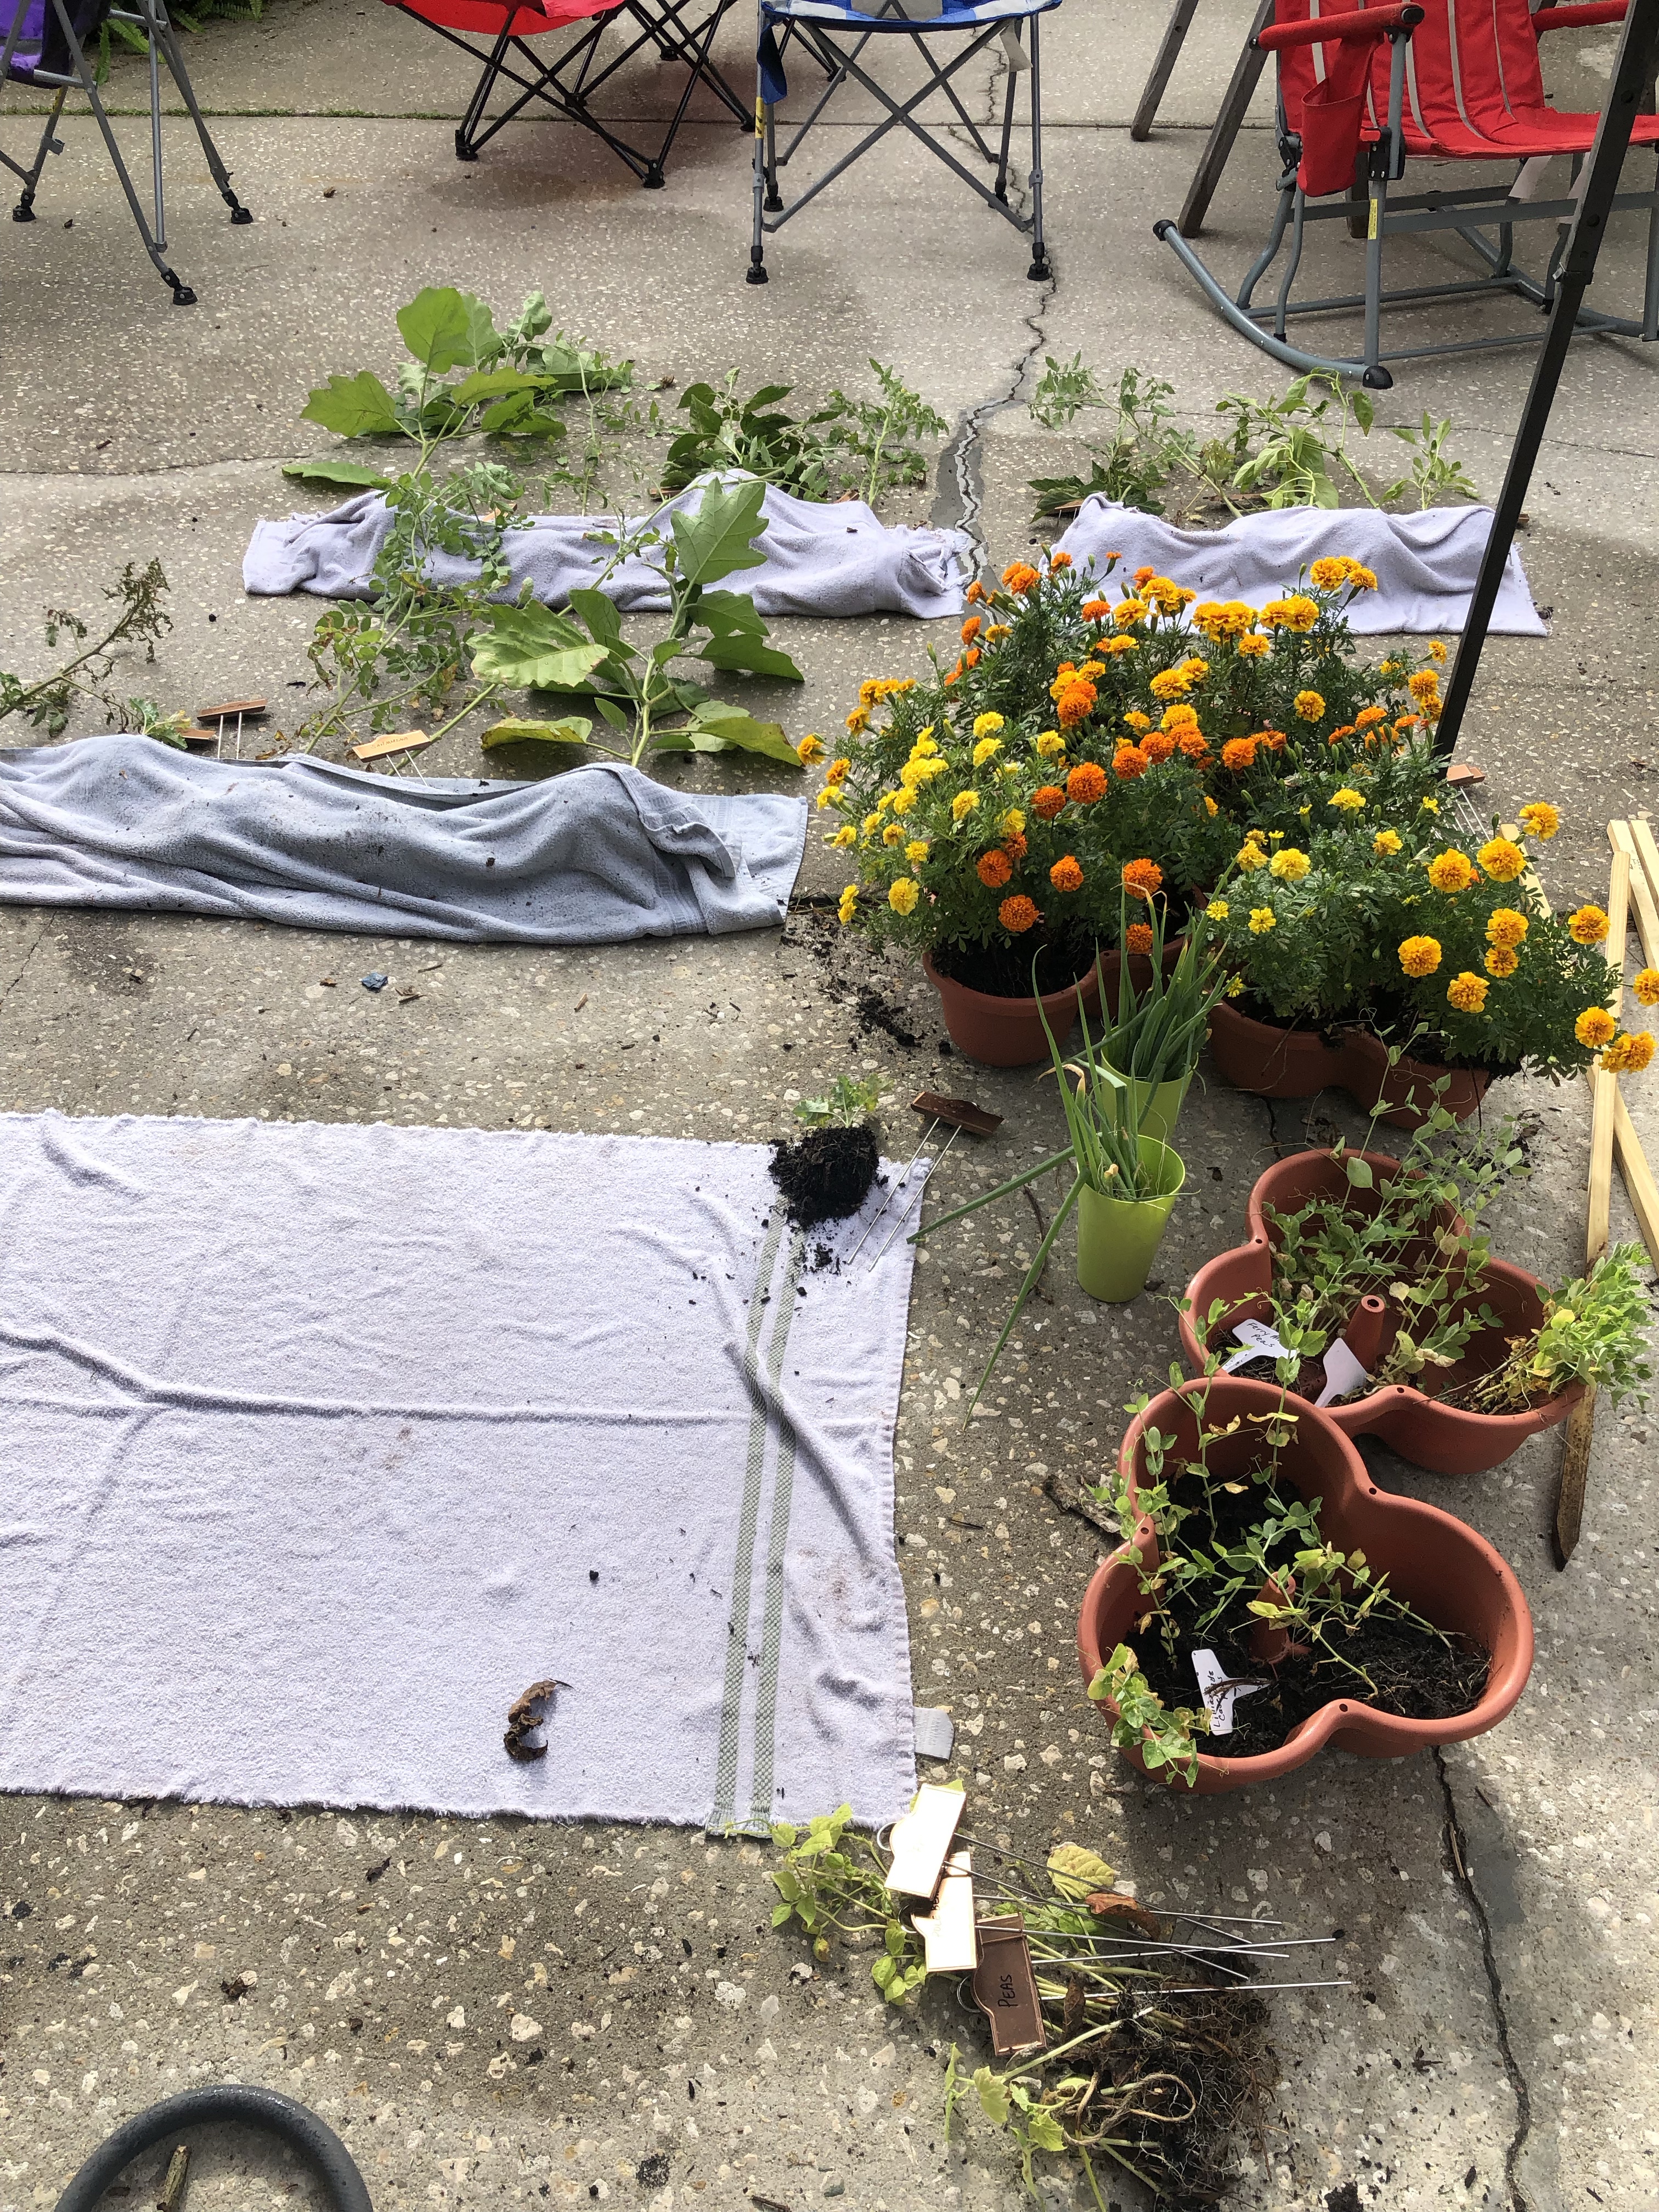
So, on a Saturday morning in late October, about 7 weeks after we planted the garden, we started. First, we carefully removed all of the plants and laid them in the driveway on damp towels under a tail-gate tent to keep the roots both moist and dry.
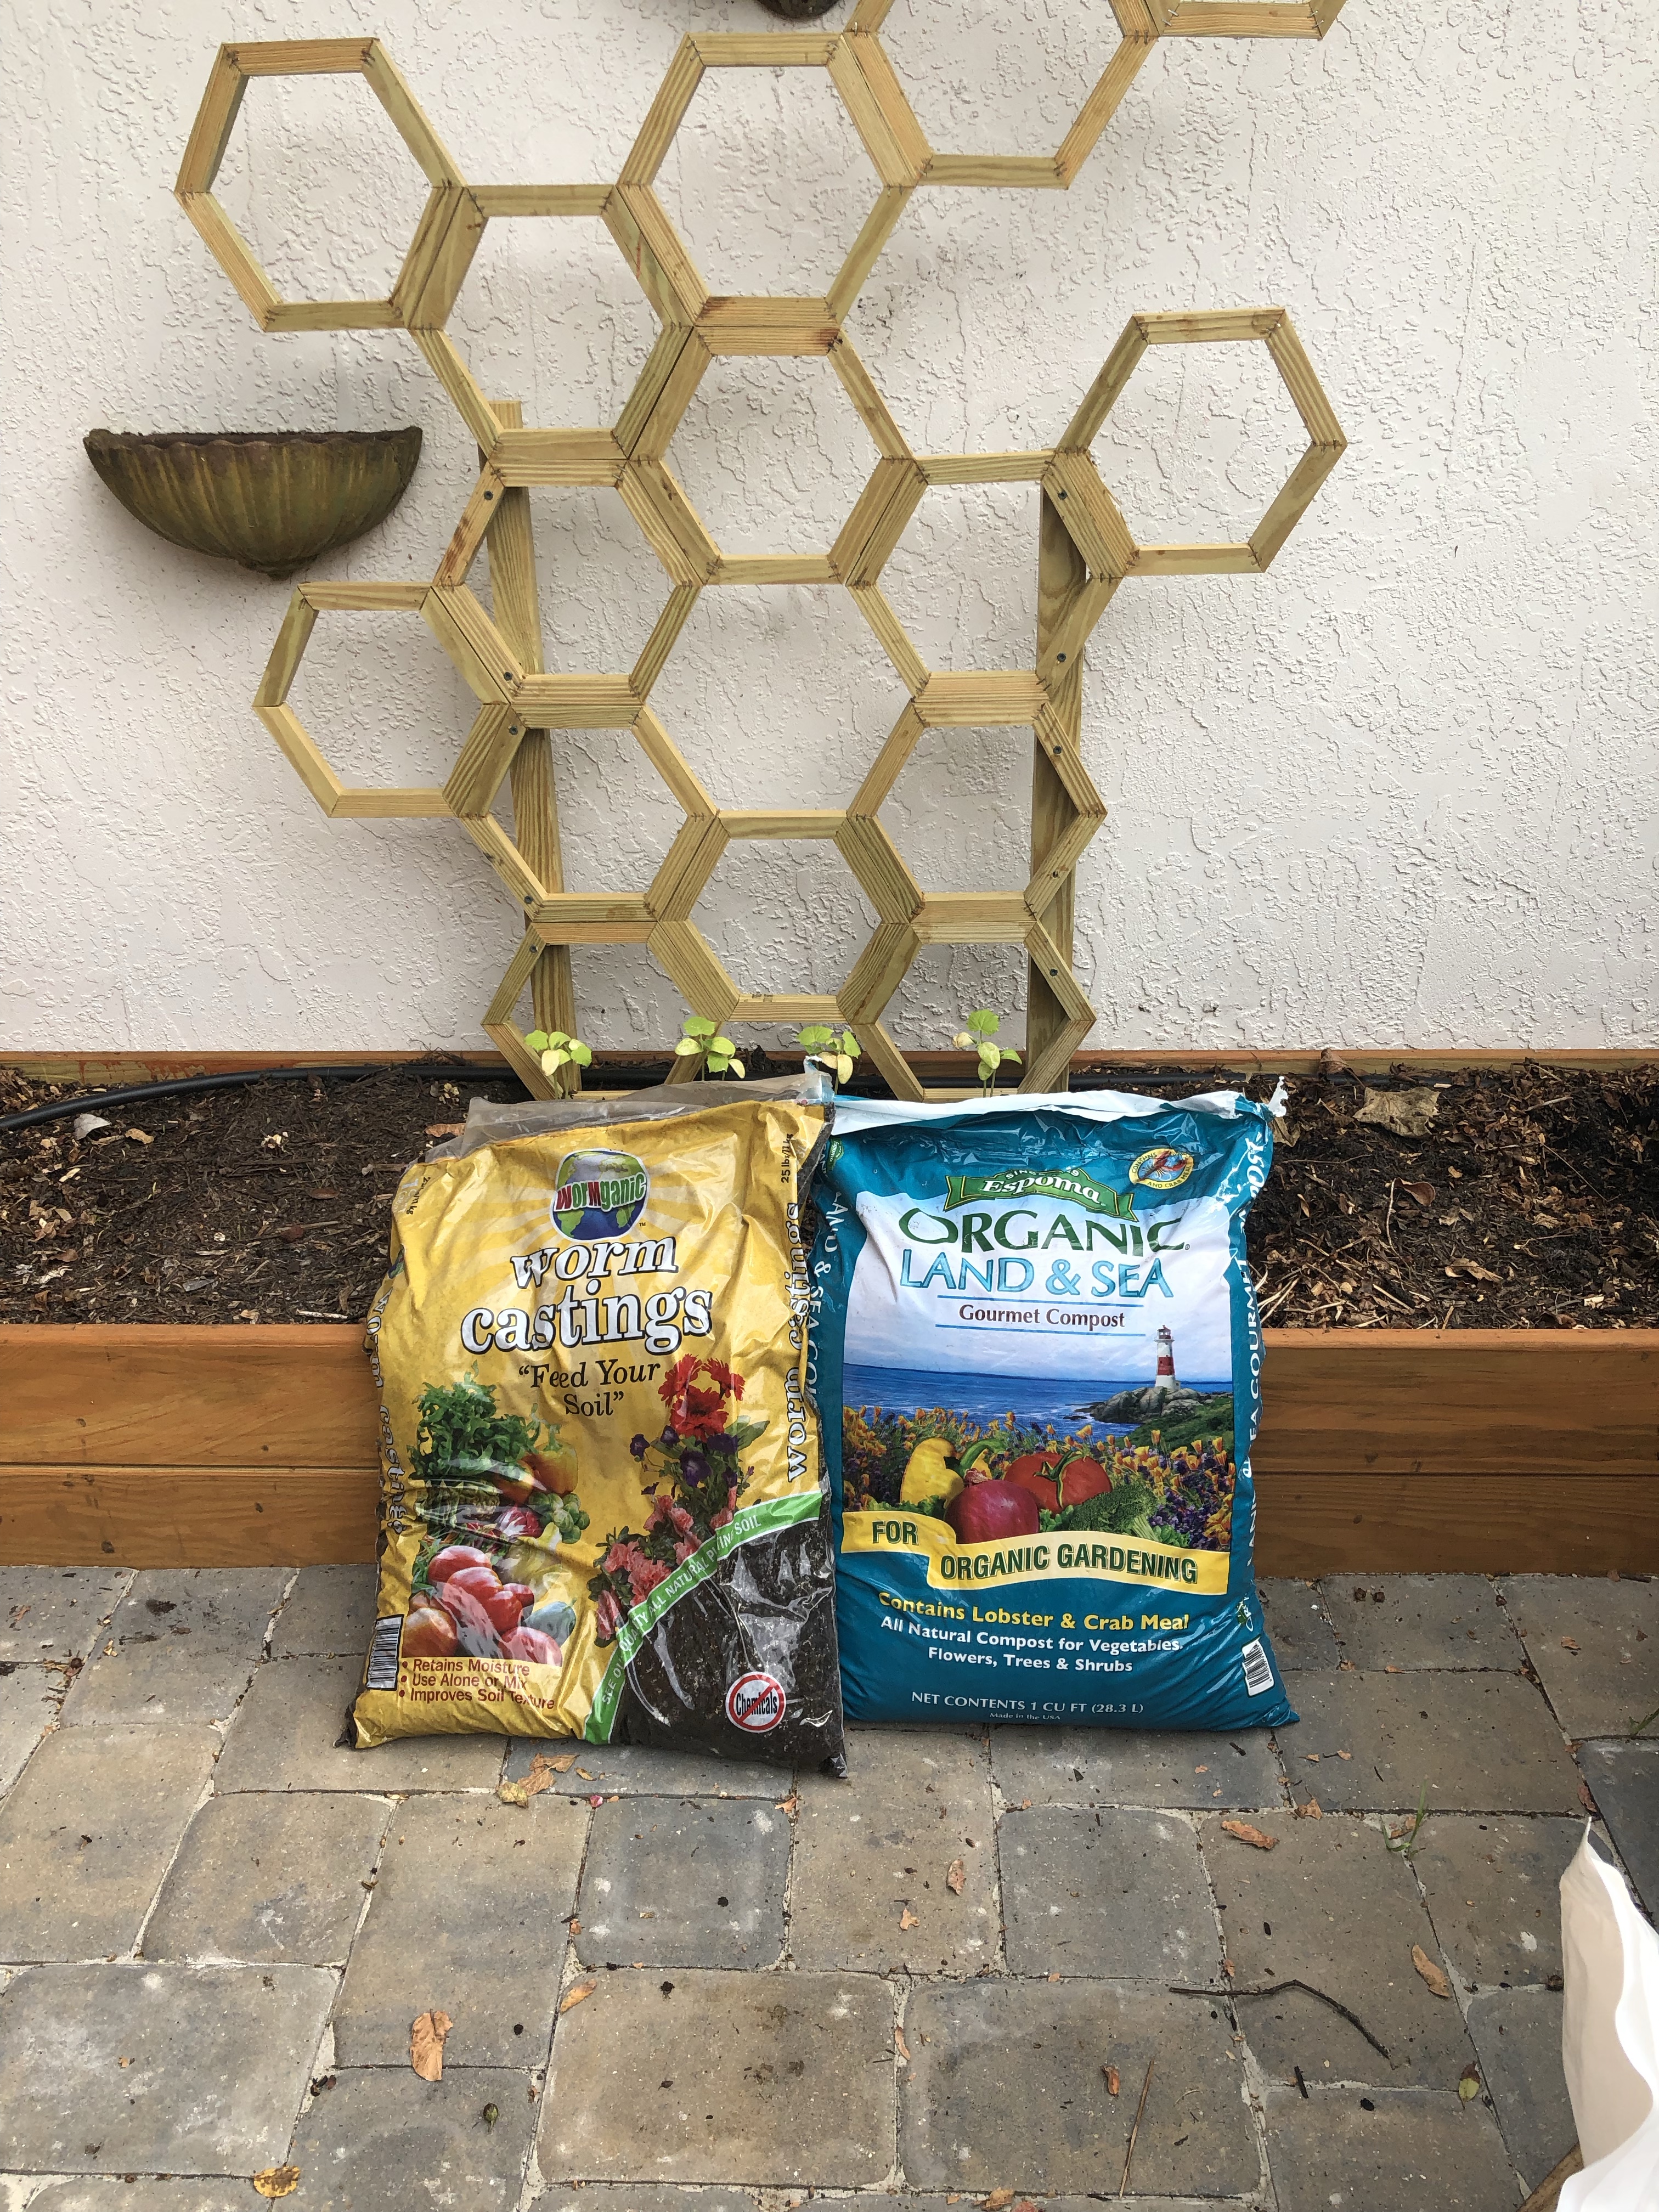
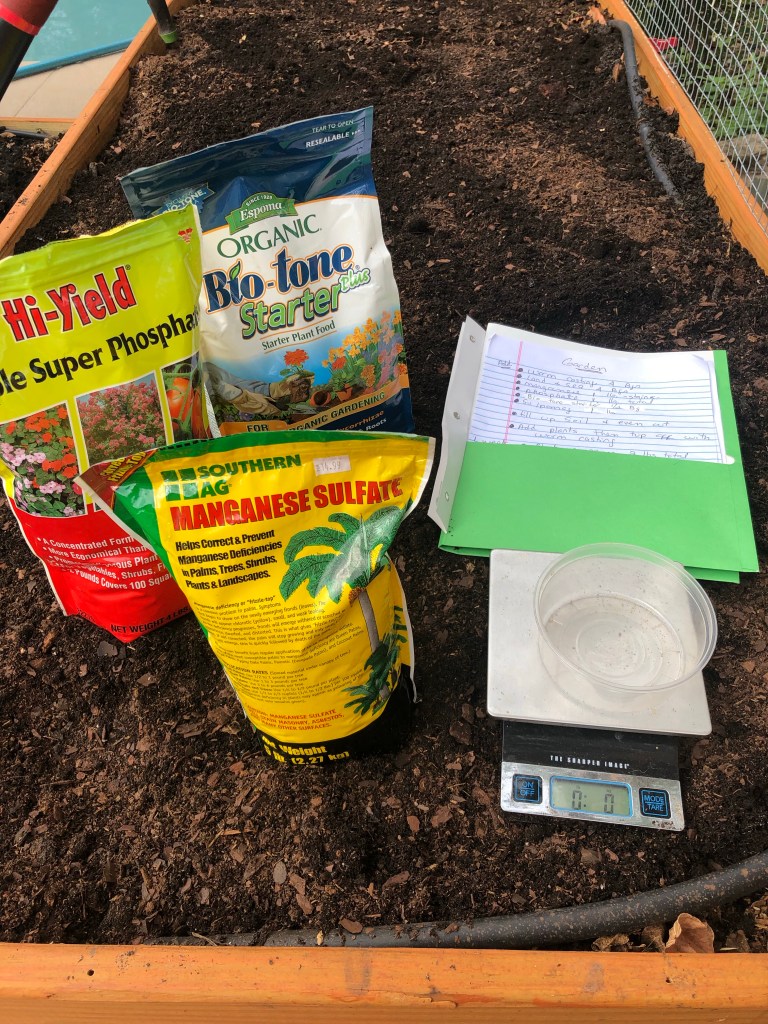
We then started with the left bed and added the following:
- Worm castings – 4 bags -worm castings are miracle food for your soil. It feeds the plants, increases plant and bloom size, and help fight soil-borne plant diseases and repel insects.
- Espoma Organic Land and Sea Compost – 4 bags – this is used to improve soil prior to planting
- Manganese – 1 lb (you have to be careful with this, as it stains) – Manganese is one of nine essential nutrients that plants require for growth; it contributes to the biological systems (photosynthesis, respiration, pollen germination, pollen tube growth, root cell elongation)
- Phosphate – 1 lb total – keeps plants healthy and encourages new growth – responsible for plant rooting, flowering, and fruiting
- Organic Biotone Starter Fertilizer – 1/2 bag – Helps establish stronger roots, bigger plants and more abundant blooms
- Sulpomag – 1 lb – I thought Sulpomag itself was a singular unit, however it actually stands for Sulfur, Soluable Potash, and Magnesium. With it, your crops get access to three essential nutrients. Potassium, required for protein formation, improves flavor and color of fruits and vegetables; magnesium which is key in chlorophyll and it impacts quality and yield; and finally, sulfur which is a key element in proteins.
We tilled everything in together, and replanted our plants. We also took this time to make some changes to the garden. We could tell the Roma tomato was not getting enough morning light and was real ‘leggy’ – tall and skinny – so we moved it from the right bed to the left bed which gets early morning sun and dappled afternoon sun.
Now as far as maintenance, we started with the Happy Frog Fruit & Flower Organic Fertilizer but after the first application, we switched to Happy Frog Tomato & Vegetable Organic Fertilizer. We apply the fertilizer every 3 weeks and in looking at my instructions again, we should also be applying 1 lb of Sulpomag every 3 weeks (whoops!). You can check out our brief YouTube video explaining the application.

Overall, it was hard work, but we learned a lot about what veggies need to thrive and now, we’re starting to enjoy the “fruits” of our labor (pun intended 😉 ).
Happy Gardening!
